How to Calculate a Repeating Bead Bracelet Pattern
A repeating pattern becomes easier to build when the visual idea is translated into a short written rule. This method uses a two-color bracelet as an original arithmetic example. Its bead dimensions are planning assumptions, not measured product specifications. You will compare the calculation with actual beads before choosing a final size or cutting the stringing material.
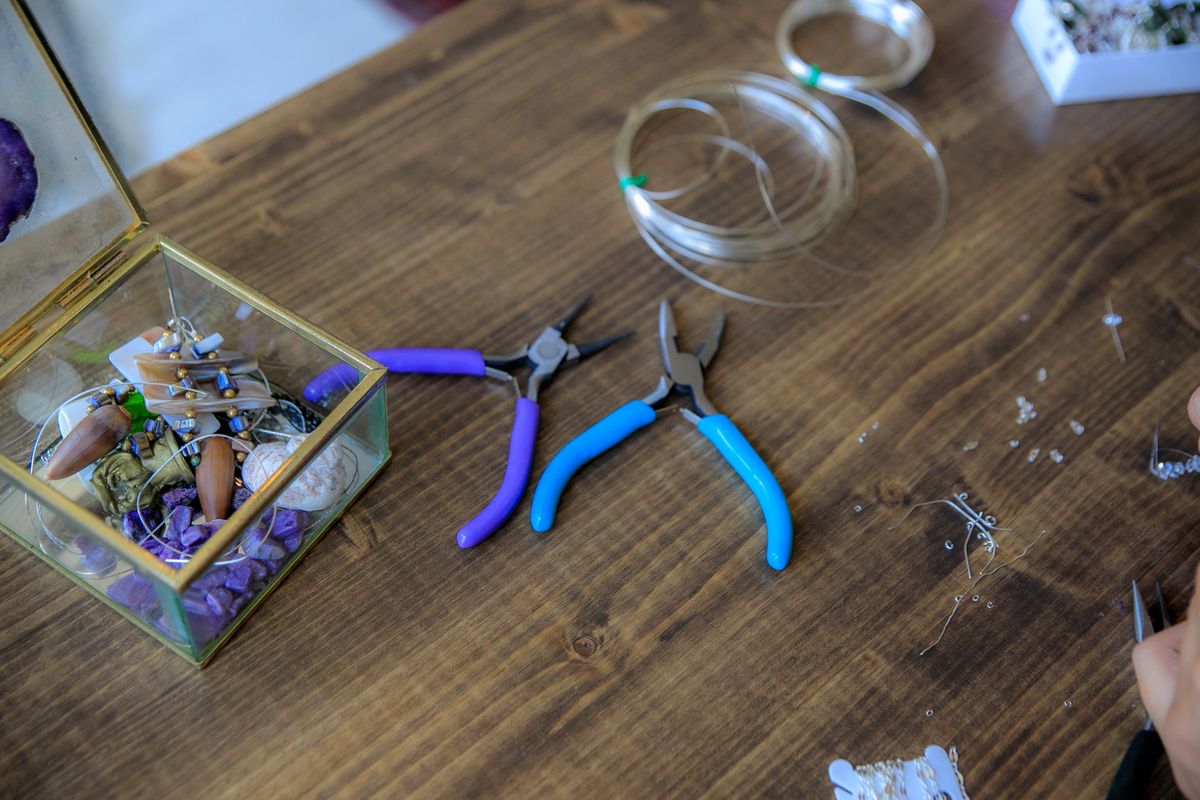
Photo: Pexels · License. Illustrative stock photography; pictured people, products and settings are not claimed to demonstrate this exact guide or endorse this publication.
Write the smallest repeat in letters
Assign one letter to each bead type, including spacers that have a different size even when their color matches. For example, A-A-B means two pale rounds followed by one dark round. Keep the written rule short enough to check at a glance. If the intended design has a focal bead in the center, treat the focal arrangement separately from the repeating side sections. A centerpiece is not automatically another repeat.
Translate one module into a materials count
For A-A-B, one repeat needs two A beads and one B bead. Eight repeats need 16 A and eight B. This is a count statement, independent of whether the bracelet will fit. Add a small separately labeled spare allowance for imperfect or lost beads rather than silently increasing the design count. If a supplier sells strands or weight-based packets, confirm how many usable beads are actually available before beginning.
Estimate module length using stated assumptions
Suppose A is nominally 4 mm and B is nominally 6 mm. A straight module is approximately 14 mm before real-world variation: 4 + 4 + 6. Eight modules give an estimated 112 mm of bead path. That number does not include clasp components or establish inside fit. Measure several actual assembled modules to see whether the estimate is useful. Irregular beads and spacers can make a nominal calculation misleading.
Keep a separate allowance for the closure
Lay out the chosen clasp, connection rings and any extender. Measure the complete assembly rather than assigning every closure the same generic allowance. Subtract its planned contribution from the open length target only as a layout estimate, then fit a temporary strand. The final bracelet must curve around the wearer, and bulky beads change interior space. A spreadsheet can keep counts consistent while a prototype answers the physical fitting question.
Resolve a remainder with end sections
A target length rarely divides exactly into the module length. Instead of inserting a random bead halfway through, reserve a short plain section at each end or choose a smaller spacer pair. For an illustrative 10 mm remainder, test two equal 5 mm end sections using actual components. If no pleasing adjustment fits, change the repeat count or bead size. Do not distort the whole bracelet to protect an arithmetic result.
Use a count table while stringing
Write columns for repeat number, A count, B count and checked status. String one module, then move its beads out of the supply dish or mark that row. Every few modules, compare the actual strand to the letters on the page. When interrupted, stop at the end of a complete module and note the next letter. This avoids returning to a tray and guessing whether a single loose bead belongs before or after the dark accent.
Correct an error at the closest open end
If a repeat has an extra A bead, compare the pattern from both the center and the open end to identify the true error. A misplaced accent can make later modules look wrong even when they are correct. Unstring only back to the last verified point. Keep removed beads in sequence on the mat and rebuild against the written rule. Do not compensate for one mistake by deliberately making a second mistake on the opposite side.
Save a reproducible bill of materials
Record the final repeat count, all end-section beads, closure components and spare quantities in separate lines. Include supplier sizes as labels and your own actual sample measurement as an observation. If a later version uses different bead diameters, keep the pattern rule but repeat the length trial. The reusable asset is the decision record: what was counted, what was measured and which choices made the finished bracelet comfortable.
Your working checklist
Checkmarks stay in this browser when storage is available. They do not submit information or complete a purchase.
Put it into practice
- Name each bead type and write the shortest repeating sequence. Lay three copies on the mat and confirm that the written letters describe the visual pattern without ambiguous spacer positions.
- Calculate per-repeat and total bead counts separately from length. Mark spares as spares and compare the total with the actual number of usable beads in the packets.
- Estimate one module from nominal dimensions, then measure a short real sample. Keep both numbers with labels so a supplier size is not mistaken for an exact finished length.
- Add the actual closure assembly to a temporary strand. Resolve any length remainder with a deliberate balanced end section, then fit the closed prototype before final stringing.
- Build one complete repeat at a time and mark its count. At an interruption, stop at a known boundary and note the next bead type rather than relying on memory.
- Review the entire sequence before finishing, then save the final module count, end sections and components as a bill of materials. Recheck the finished bracelet’s actual fit.
Before you finish
- Counts and length estimates are separate.
- Every different spacer has its own bead code.
- Remainders are resolved deliberately at both ends.
- The final strand was fitted rather than only calculated.
Common questions
Does bead diameter predict exact bracelet length?
It gives a rough planning estimate for regular beads, not an exact finished fit. Real dimensions, hole positions, spacers, the clasp and the closed curve all matter. Measure a sample and fit a prototype.
What if the repeat leaves too much leftover space?
Try smaller balanced end sections, a different repeat count or another bead size. A deliberate border is usually easier to read than an isolated extra accent inserted in the middle of the motif.
Should I count spares in the pattern?
Keep them on a separate line. The design count explains what is on the bracelet; the purchase count includes extra material for rejects or losses. Combining those numbers can cause accidental extra repeats.
Can this method work for a necklace?
Yes, as a counting method. A necklace needs its own length, drape and closure checks. Transfer the repeat rule and count table, then make a new physical layout for the longer piece.