How to Plan a Seed-Bead Daisy Chain Bracelet
A daisy chain combines a repeated flower with a connection between flowers. The most useful first goal is a short sample with a visible center and a flexible thread path. This guide uses a simple six-petal practice unit and explains layout, fitting and recovery. The linked demonstration shows another daisy-chain construction; its bead counts should not be mixed into this practice unit halfway through.
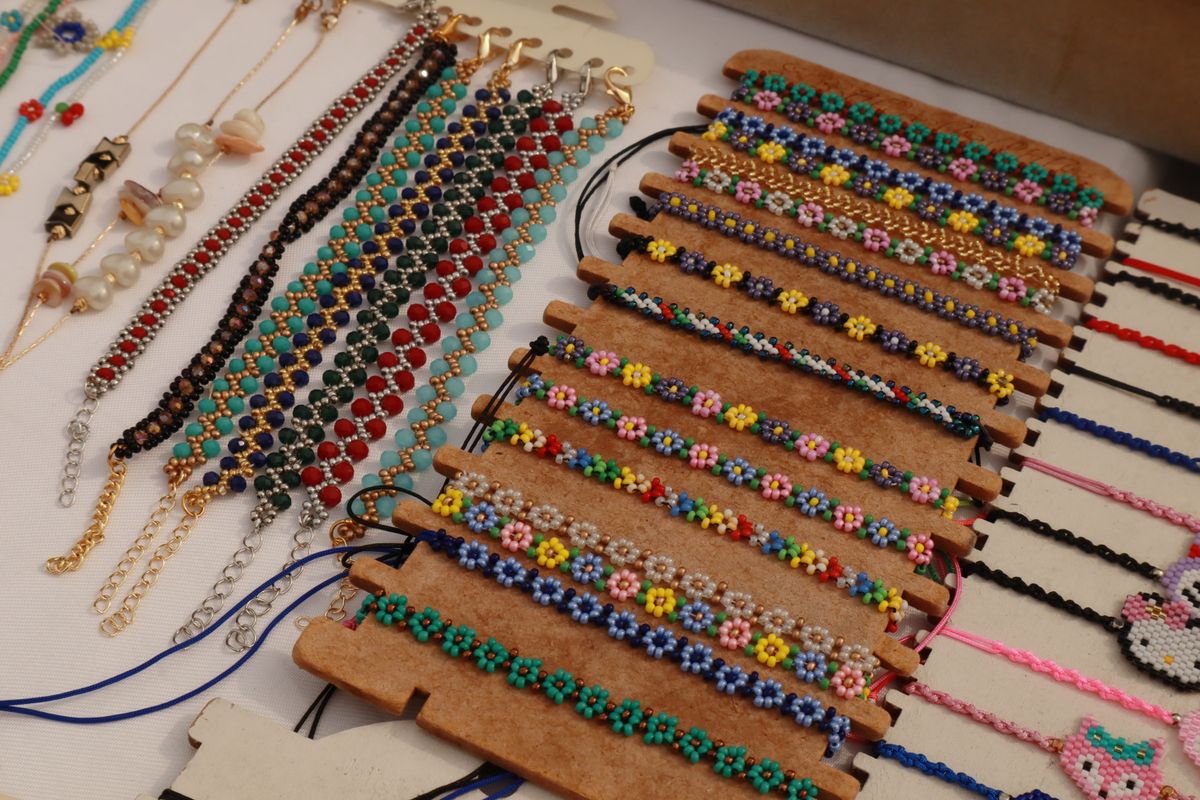
Photo: Pexels · License. Illustrative stock photography; pictured people, products and settings are not claimed to demonstrate this exact guide or endorse this publication.
Use contrasting colors for the first sample
Choose uniform seed beads in three clearly different colors: petals, centers and connecting beads. Subtle cream-on-white combinations can wait until the thread path is familiar. Test that the selected needle and thread can pass through the petal holes more than once without force. A bead that jams during a second pass should be replaced or paired with a thinner appropriate thread-and-needle combination. Keep all three colors in separate shallow dishes.
Build one six-petal ring before a bracelet
On a stopped thread with a usable tail, pick up six petal beads and pass through the first bead again to close a small ring. Add a center bead and pass through the petal opposite the entry bead so the center spans the ring. Ease the beads into position with the fingers rather than pulling hard on the needle. Choose a center that sits inside the ring without forcing the petals into a cone.
Make the connection a deliberate design choice
For the sample, leave the first ring through a consistent exit petal, add a short bridge of connecting beads and form the next flower as a separate ring. Reinforce the bridge with a return pass where the chosen holes permit it, then follow the established thread path to the next exit. Keep the flowers facing the same way. A new bead count changes the module length, so record the bridge count before making the full strand.
Check tension after each flower
Lay the sample on the mat and curve it gently. The flowers should remain recognizable while the bridge can flex. A wavy strand can indicate uneven tension or inconsistent bead sizes; a stiff curled strand may have been pulled too hard. Adjust before adding another flower. Do not try to correct a whole bracelet by pulling a single tail at the end, because friction through many small beads can prevent that tension from distributing evenly.
Measure the actual module rather than guessing
Make three flowers and two bridges, then measure their real combined length. Suppose that sample is 36 mm; it does not mean every future flower-and-bridge pair will be exactly 12 mm, because the end structure differs. Place the actual clasp and end loops beside the sample and estimate the number of full flowers needed. Fit the unfinished strand around the wrist before completing either permanent end. Counts determine appearance; the prototype determines fit.
Plan a clasp connection with sufficient room
Use a clasp appropriate for delicate beadwork and create its attachment according to the selected stitch and finding instructions. The opening must allow the clasp to move without scraping the thread. Reinforce load paths with additional passes only while the holes still accept the needle comfortably. If the needle jams, stop rather than pushing with pliers. Weave thread ends back through an established route and finish with the thread maker’s suitable knot or securing method.
Recover from a misplaced center or bridge
If the center sits outside the flower, trace the entry and exit petals with the needle removed from tension. It may be crossing the wrong part of the ring or simply be too large. Unpick to the last correct unit while there is still a manageable working length. If two flowers face in different planes, check the bridge exit point before adding more beads. Mark a corrected sample with a small tag so it becomes the reference for the remaining repeats.
Keep the sample as a readable pattern record
Write the petal count, center size, bridge count, thread and needle details alongside a sketch. Photograph your own sample only if you want a record; the stock image on this page is illustrative, not a claimed finished version of this project. Keep the first short sample even if its colors are not your final choice. It can answer future questions about length, flexibility and the direction of the thread more effectively than a shopping list alone.
Your working checklist
Checkmarks stay in this browser when storage is available. They do not submit information or complete a purchase.
Put it into practice
- Test repeated passes through the smallest bead hole, then make one six-petal ring on a stopped thread. Add a center across the ring and check that the flower lies comfortably before continuing.
- Record the chosen exit petal and short bridge count. Form a second flower using the same construction, then reinforce an appropriate bridge route without crowding the holes or creating a visible loose thread loop.
- Complete a third flower and lay the sample flat. Compare all centers and bridges, ease any uneven tension and unpick an incorrectly oriented unit while it remains easy to reach.
- Measure the sample with the actual intended clasp assembly beside it. Estimate a whole-number flower layout, then build and fit the unfinished strand rather than relying only on multiplication.
- Construct and reinforce the clasp attachment using a compatible beadwork finish. Keep the clasp mobile, secure thread ends within an established thread path and stop if the needle no longer passes freely.
- Inspect every bridge and end connection, record the successful module and store the bracelet without pulling it taut. Keep the sample and component notes for a later matching piece or repair.
Before you finish
- All centers fit without distorting their petals.
- Bridge count and orientation remain consistent.
- Thread is not visibly abraded or crowded in a hole.
- Final fit includes both clasp connections.
Common questions
Can I mix instructions from two daisy patterns?
Not halfway through a sample. Different methods share beads, exit from different petals or use different center counts. Finish one construction consistently, then compare another method on a separate short sample.
Why does my flower buckle?
The center may be too large, the bead sizes uneven or the thread pulled too tightly. Make a single relaxed practice flower and compare those factors before changing the entire bracelet.
Can I use thick elastic for this stitch?
This guide uses repeated thread passes and a needle. Thick elastic may not fit or behave appropriately. Choose a compatible beading thread and practice the stitch separately from stretch-bracelet construction.
How many flowers make a bracelet?
Measure your actual sample and include the end attachments and clasp. Bead labels alone cannot give an exact answer because bridge counts, center size and tension all affect the final length.