How to Make a Small Square-Stitch Sample Before Planning a Beaded Bracelet
This guide helps you learn a consistent thread path before estimating a complete bracelet. It is an original planning and practice project for ordinary low-value adult decorative accessories, supported by the linked supplier or maker instructions. Keep the actual product directions beside the work, because cord, thread, beading wire and findings use different finishes. The examples are not tested load ratings or promises of permanent security. Make uncertain connections on an inexpensive sample first and stop before altering a valuable, antique or unidentified piece.
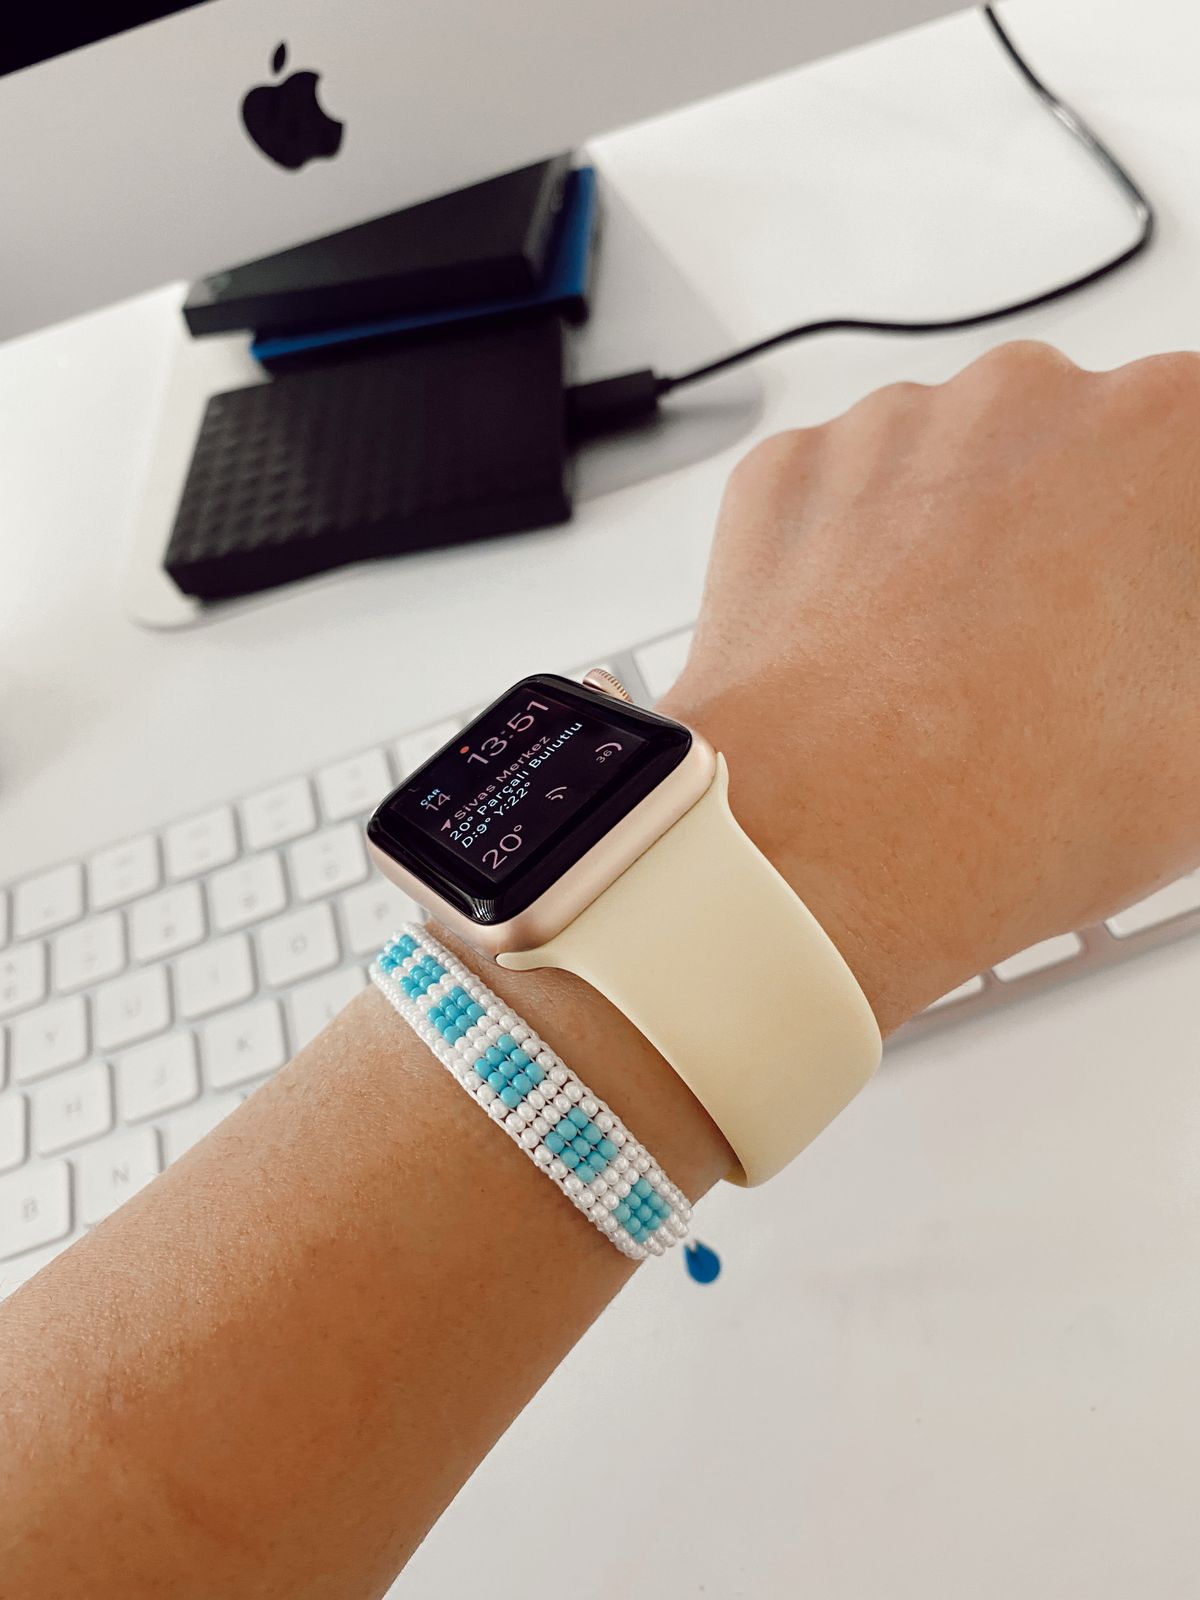
Photo: Pexels · License. Illustrative stock photography; pictured people, products and settings are not claimed to demonstrate this exact guide or endorse this publication.
Start with a plain sample
Use a short narrow practice strip instead of beginning a large decorative bracelet. A simple two-color grid helps make rows visible. Jill Wiseman's instruction supplies the foundational square-stitch path. This article adds original planning decisions rather than reproducing a full copyrighted pattern or claiming a tested finished design.
Match repeated passes
Choose a suitable beading thread and needle, then test several holes. A thread fitting once does not establish room for all passes in the stitch. Do not force a crowded needle. Keep the selected product information with the work so an interrupted project can resume with the same material rather than an incompatible substitute.
Establish the first row
Use a stop bead with a practical tail and string a short row. Five beads is an example, not a required width. Keep the row readable without pulling it crushingly tight. Record which side starts the next row. A clear beginning makes it easier to resume after an interruption without reversing the intended path.
Connect one new bead
Pick up the next-row bead, pass through its corresponding bead below as the chosen diagram shows, then pass through the new bead to position for another addition. Check orientation before snugging. The repeating square-like path matters more than speed. Fix one early error while the working section remains easy to reach.
Inspect each row
Repeat the same connection across the width and check the reverse for missed beads or loose loops. Follow the source's row reinforcement method. A neat front does not prove the back path is correct. Use controlled tension that lets the sample lie as intended rather than pulling harder whenever alignment looks uncertain.
Troubleshoot one cause
Waviness can reflect inconsistent beads, a missed pass or changing tension. Compare these separately. Unpick an incorrect section before thread becomes too short to manage. Adding rows does not repair an earlier error. Do not tighten by force when holes are already crowded or the needle is struggling.
Measure the physical sample
Record actual width, length and bend, not only nominal bead size. Full bracelet planning needs a separate closure allowance and fitting trial. The sample can estimate supplies but not guarantee interior circumference. If the bead type or thread changes, make another sample rather than assuming the same grid will have identical dimensions.
Plan finishing separately
Choose a compatible attachment and established thread-ending method after the sample is reliable. Preserve sufficient thread to weave ends appropriately. Do not connect a clasp to one unsupported exposed loop. Keep the sample as a reference for path and tension before scaling to a larger original layout or adding complex motifs.
An illustrative project decision
A short sample five beads across makes rows easy to inspect. Add one bead at a time using the same square-stitch path and examine the reverse before continuing. If the sample buckles, compare tension, missed paths and bead consistency instead of adding more rows to force it flat. Measure the actual strip and its bend for planning. Five beads is an illustrative practice width, not a universal bracelet size or a copied decorative pattern. Closure design remains a separate decision after the sample is reliable.
Save the choices that make the project repeatable
Record the exact materials, actual measurements, component counts and construction method that helped you learn a consistent thread path before estimating a complete bracelet. Keep the fit observation separate from a supplier's nominal size and keep spare quantities separate from the design count. If a problem appears, identify whether it concerns compatibility, order, tension, closure access or the finish before changing several parts. A small temporary sample can answer that question with less risk of losing the intended pattern. Preserve enough working length for the maker's method and do not make an irreversible cut simply to meet a self-imposed deadline. Clear records make the next version easier without claiming that every replacement component behaves identically.
Your working checklist
Checkmarks stay in this browser when storage is available. They do not submit information or complete a purchase.
Put it into practice
- Match needle and thread to repeated hole passes and attach a stop bead with a usable tail.
- String a short first row of uniform beads.
- Add one next-row bead through the corresponding previous-row bead as the reference shows.
- Pass through the new bead to position for the next addition.
- Repeat across, inspect the reverse and reinforce the row as directed.
- Build a short sample and measure it before choosing full length and closure.
Before you finish
- The completed sample addresses the aim to learn a consistent thread path before estimating a complete bracelet; a temporary fitting aid is not being mistaken for a finished connection.
- Materials and finishes match the exact maker's directions; appearance alone has not been used to choose a knot, crimp or clasp.
- Actual fit and ordinary operation have been reviewed without calling the result a certified strength test or a load-bearing device.
- Relevant material labels, component counts and care information are saved for an honest gift description or a later repair.
Common questions
Can I substitute a different cord or finding?
Only after checking the actual product's compatibility and finishing instructions. A similar diameter, color or shape does not prove the same construction will work. For this task, return to “Connect one new bead” and make a small trial before committing the final components. Keep the substitute's material description accurate.
What if the first sample does not work?
Identify one specific problem and revisit “Troubleshoot one cause.” Keep the work temporary while resolving it. A small sample that reveals an unsuitable fit or finish is useful information, not a reason to hide the connection or add unknown glue. Rebuild uncertain low-value parts with known compatible components.
Is a gentle pull enough to prove the piece is secure?
No. A visual and gentle functional inspection can reveal obvious defects, but it does not establish a certified breaking strength, fixed lifespan or guarantee against opening. These are adult decorative accessories. Do not use the project as a restraint, safety line, support or device-retention system.
How should I describe or gift the finished piece?
Use the actual known materials and explain any fit uncertainty. Keep cultured and imitation pearl labels distinct, and do not call unknown metal precious or allergy-safe. Provide care based on the components rather than a universal soaking method. Valuable, antique or unidentified pieces are better assessed by a qualified professional.