Wire Guards, Crimp Tubes and Crimp Covers: What Each Finding Actually Does
This guide helps you distinguish the functional wire finish from optional protective or cosmetic findings. It is an original planning and practice project for ordinary low-value adult decorative accessories, supported by the linked supplier or maker instructions. Keep the actual product directions beside the work, because cord, thread, beading wire and findings use different finishes. The examples are not tested load ratings or promises of permanent security. Make uncertain connections on an inexpensive sample first and stop before altering a valuable, antique or unidentified piece.
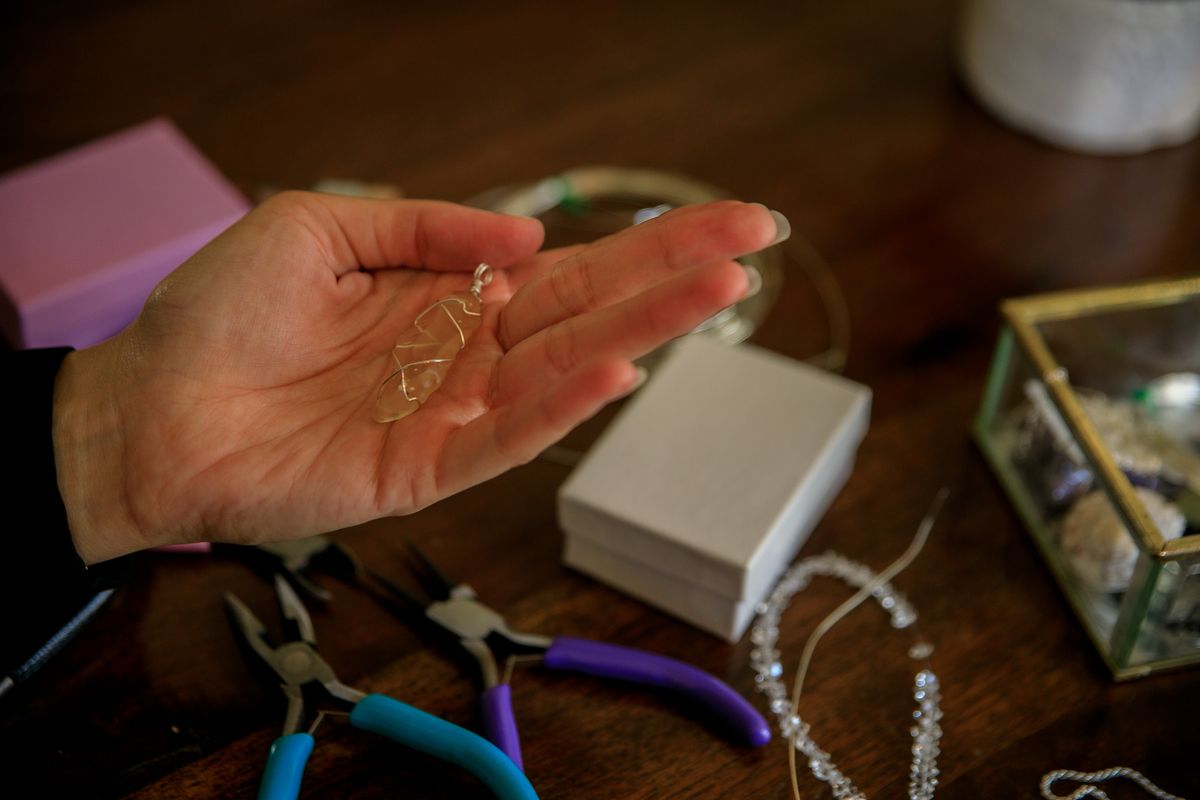
Photo: Pexels · License. Illustrative stock photography; pictured people, products and settings are not claimed to demonstrate this exact guide or endorse this publication.
Name the three roles
The crimp is part of a wire-securing finish, a wire guard guides or protects the curved path at a connection, and a cover conceals the crimp cosmetically. Product designs vary, so read exact instructions. Similar size or metallic appearance does not make these findings interchangeable. Keep a labeled example of each while learning.
Start from the wire label
Choose the crimp size and tool recommended for the actual beading wire. Beadalon and Fire Mountain provide compatibility guidance. A tube that fits over the wire is not automatically the correct crimp. Do not improvise this wire finish onto ordinary elastic or thread, which uses different product-specific connections.
Understand the guard path
A compatible curved wire guard can sit where wire turns around the clasp connection. Follow its maker's routing instructions. It does not replace the securing crimp or repair a damaged wire. Check that the chosen clasp and guard can move without awkward pinching. Add it for a defined purpose rather than because every photograph includes one.
Make the functional crimp first
Use a short visible sample and the specified crimping procedure. Keep enough room for clasp movement without an excessively loose exposed loop. Do not hide the connection before checking it. A decorative cover is not the stage at which an uncertain tube choice or incorrect tool pressure becomes acceptable.
Inspect without claiming certification
Look for obvious slipping, crossed or damaged wire, malformed crimps and restricted movement. Follow the maker's functional checks. A home inspection is not a load test or a service-life guarantee. If the result is doubtful, replace the sacrificial parts and remake it rather than squeezing randomly until the outside looks smaller.
Add the cover only if wanted
Use a compatible cover and the closing method its instructions specify. It is optional for appearance and should not be crushed into neighboring beads or the clasp. A closed cover can make future inspection harder, so resolve the underlying connection first. Never describe a cover as a substitute securing part.
Keep other findings distinct
A knot cover, cord end and crimp cover can look similar but belong to different constructions. Read the product name and intended use rather than sorting only by shape. A tutorial for a clamshell knot cover does not automatically apply to beading wire. Preserve package information until the method is familiar.
Save a labeled sample
Keep an inexpensive finished sample or clear notes showing wire, crimp, tool, optional guard and cover. It can prevent future substitutions based on appearance alone. If components change, repeat compatibility checks. The useful outcome is understanding what holds, what guides and what conceals, without converting decorative jewelry into a guaranteed support system.
An illustrative project decision
A crimp cover looks neat over a connection, but the wire beneath slips because the wrong tube was used. Opening the cosmetic cover does not reveal a new securing mechanism; the functional crimp must be rebuilt with the correct wire, tube and tool. A wire guard guides the path near the clasp and is not a substitute for the crimp either. Make a short visible sample first so the roles stay clear. Appearance can improve after a sound product-specific finish, but a polished cover cannot certify its strength.
Save the choices that make the project repeatable
Record the exact materials, actual measurements, component counts and construction method that helped you distinguish the functional wire finish from optional protective or cosmetic findings. Keep the fit observation separate from a supplier's nominal size and keep spare quantities separate from the design count. If a problem appears, identify whether it concerns compatibility, order, tension, closure access or the finish before changing several parts. A small temporary sample can answer that question with less risk of losing the intended pattern. Preserve enough working length for the maker's method and do not make an irreversible cut simply to meet a self-imposed deadline. Clear records make the next version easier without claiming that every replacement component behaves identically.
Your working checklist
Checkmarks stay in this browser when storage is available. They do not submit information or complete a purchase.
Put it into practice
- Identify the wire and the maker's matching crimp and tool requirements.
- Lay a visible sample with clasp and optional guard before adding beads.
- Route the wire through the intended crimp and connection as directed.
- Make the functional crimp with the specified tool and inspect it uncovered.
- Add a compatible optional cover only after the underlying finish is resolved.
- Record each finding's role and rebuild any uncertain connection.
Before you finish
- The completed sample addresses the aim to distinguish the functional wire finish from optional protective or cosmetic findings; a temporary fitting aid is not being mistaken for a finished connection.
- Materials and finishes match the exact maker's directions; appearance alone has not been used to choose a knot, crimp or clasp.
- Actual fit and ordinary operation have been reviewed without calling the result a certified strength test or a load-bearing device.
- Relevant material labels, component counts and care information are saved for an honest gift description or a later repair.
Common questions
Can I substitute a different cord or finding?
Only after checking the actual product's compatibility and finishing instructions. A similar diameter, color or shape does not prove the same construction will work. For this task, return to “Make the functional crimp first” and make a small trial before committing the final components. Keep the substitute's material description accurate.
What if the first sample does not work?
Identify one specific problem and revisit “Add the cover only if wanted.” Keep the work temporary while resolving it. A small sample that reveals an unsuitable fit or finish is useful information, not a reason to hide the connection or add unknown glue. Rebuild uncertain low-value parts with known compatible components.
Is a gentle pull enough to prove the piece is secure?
No. A visual and gentle functional inspection can reveal obvious defects, but it does not establish a certified breaking strength, fixed lifespan or guarantee against opening. These are adult decorative accessories. Do not use the project as a restraint, safety line, support or device-retention system.
How should I describe or gift the finished piece?
Use the actual known materials and explain any fit uncertainty. Keep cultured and imitation pearl labels distinct, and do not call unknown metal precious or allergy-safe. Provide care based on the components rather than a universal soaking method. Valuable, antique or unidentified pieces are better assessed by a qualified professional.