How to Make a Wrapped-Loop Bead Charm
A wrapped loop encloses its opening by wrapping the wire tail around the stem below the loop. It is useful for a small jewelry charm when a plain openable loop is not the intended finish. This project focuses on a single bead charm and its assembly order. It does not create a load-rated attachment or a substitute for professionally made structural hardware.
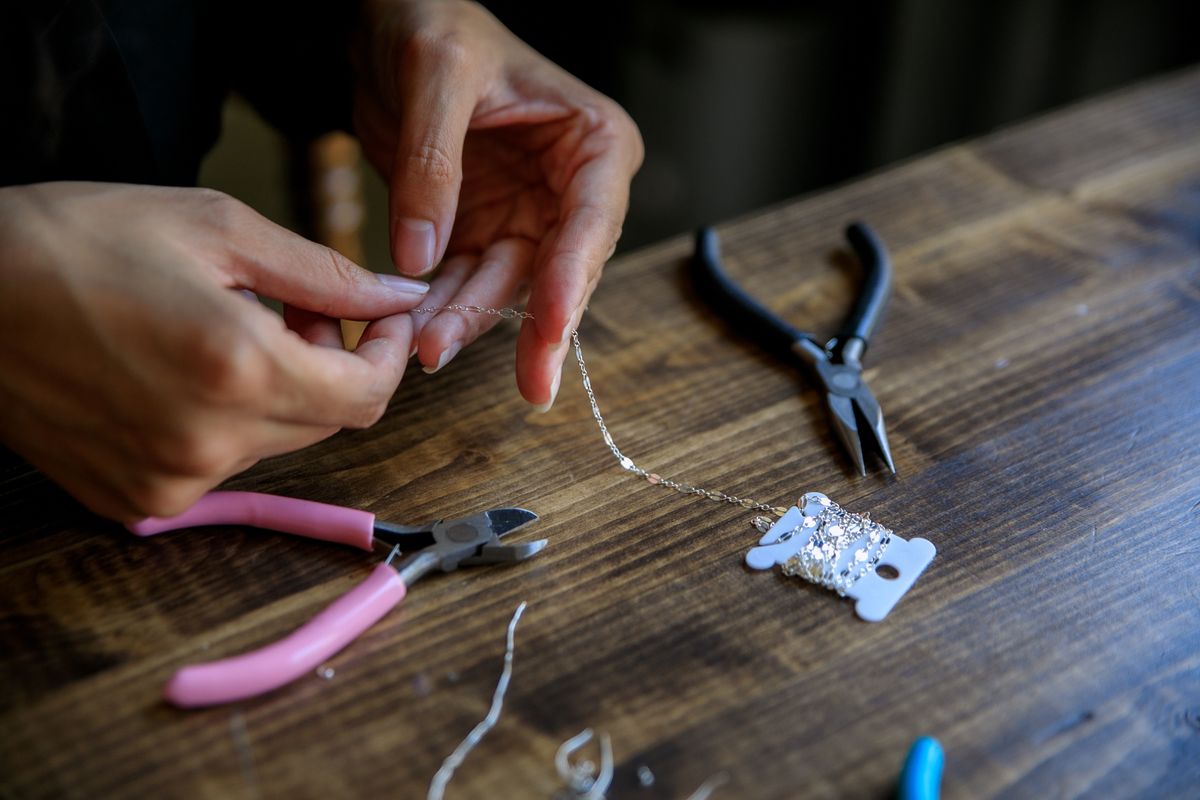
Photo: Pexels · License. Illustrative stock photography; pictured people, products and settings are not claimed to demonstrate this exact guide or endorse this publication.
Choose wire that the project can accommodate
Use a jewelry headpin or wire specified for hand forming, with a diameter that passes through the bead and a temper you can control using your tools. A very short headpin leaves no useful wrapping tail. Test an inexpensive bead first and keep the actual focal bead off the work surface until the loop method is comfortable. Do not assume hard electrical wire or an unknown scrap has the same forming behavior as a jewelry component.
Decide whether a connection must be trapped inside
A wrapped loop is not reopened like a simple loop after it is finished. If a closed chain link or fixed ring must sit inside it, thread that component onto the formed loop before wrapping the tail. Alternatively use a suitable separate connecting finding in the finished design. Draw this sequence in the notebook. Discovering the missing attachment after trimming the wire usually means remaking the charm rather than prying the wrap apart.
Leave a small working neck above the bead
The wraps need a short section of stem between the bead and the loop. Too little space forces the wire against the bead; excessive space creates a long exposed neck. Practice the proportions with the selected headpin and plier diameter. Hold the wire at the neck rather than clamping the bead itself. Keep a clear view of the hole opening so the first bend does not chip a fragile edge.
Form the loop before winding the tail
Shape the loop around the round-nose jaw and reposition the tool as necessary to preserve a round opening. Check the intended orientation and add any trapped component now. Hold the loop firmly with suitable pliers while moving the tail around the stem in adjacent turns. The point is controlled placement, not squeezing as hard as possible. Crossed or piled-up wraps are easier to avoid than to flatten after they have work-hardened.
Make an original proportion sample
For a small round bead, compare a compact loop and a slightly larger loop on spare pins. Record which one lets the charm articulate without overwhelming the focal bead. The exact neck and tail lengths depend on the wire and tools; do not treat an example drawing as a universal cutting template. Keep the chosen sample beside the final piece and stop wrapping when the planned neck is filled without pressing hard into the bead.
Trim with the offcut under control
Use cutters rated for the selected wire and control the small offcut so it cannot fly across the room. Keep the cutting face clear of the bead. After trimming, tuck the remaining tip with appropriate pliers and inspect it from multiple angles. Dragging a cloth lightly past the finished wrap can reveal an exposed snag, but it does not replace a visual check. Do not leave a sharp tail because it sits on the back of the charm.
Recover from a loose or distorted wrap
A wrap that shifts up and down may have too much neck space; a pinched bead may have too little. If gentle tool adjustment cannot resolve the shape without repeated bending, rebuild on a fresh pin. A cracked coating, severe kink or damaged bead is not a cosmetic issue to hide with another wrap. Keep a small rejected-sample envelope with a note about the cause, so the same error is not repeated on the second charm.
Use the charm within a jewelry-sized brief
Attach the completed charm using compatible findings and check that it hangs in the intended direction. Keep it away from bag handles, pet leashes or any application where a failed connection could drop a valuable object. Record materials and retain a replacement bead if available. For a coordinated pair, copy the same loop orientation and wrap proportions, then compare movement after attachment. The finish is successful when it is neat, smooth and appropriate to the design.
Your working checklist
Checkmarks stay in this browser when storage is available. They do not submit information or complete a purchase.
Put it into practice
- Sketch the bead, neck, loop and final attachment. Identify any fixed ring that must be inside the loop before it is wrapped, and place that component beside the bead so it cannot be overlooked.
- Make a practice loop with spare material and decide the proportions. Check that the selected wire passes through the bead without force and that the tail remains long enough to handle comfortably.
- Form the neck bend and round loop while protecting the bead from the jaws. Add the planned fixed attachment now, then hold the loop with suitable pliers before moving the tail.
- Wrap the tail in adjacent turns around the stem. Keep the spacing deliberate and stop before the wire presses into the bead; remake a severely crossed or distorted wrap instead of repeatedly bending it flat.
- Control and cut the offcut with an appropriate cutter, then tuck the remaining tip neatly. Inspect the whole wrap for sharp edges, loose movement or damaged coating.
- Attach and compare the charm in its final position. Confirm its facing direction and articulation, record the component sizes and keep its use within the small decorative-jewelry purpose planned at the start.
Before you finish
- All trapped components were added before wrapping.
- The bead is neither pinched nor rattling below an excessive neck.
- The trimmed wire tip is tucked and smooth.
- No load-bearing or drop-protection claim accompanies the charm.
Common questions
Can I reopen a wrapped loop?
Treat it as a fixed connection. Prying apart the wraps can damage the wire and bead. If an essential closed component was omitted, rebuilding the charm or using an appropriate separate connecting finding is the better design decision.
How many wraps should I make?
Use enough controlled adjacent turns to fill the planned neck for the selected design. There is no universal count independent of wire diameter, loop size and bead. A practice sample helps establish workable proportions.
Why does the charm catch fabric?
A cut tail or rough loop end may be exposed. Inspect under good light, tuck an accessible tip with the appropriate tool and remake a damaged finish. Do not assume a snag is harmless because it is hidden behind the bead.
Does a wrapped loop make a phone strap safe?
No. A jewelry connection is not a tested load-rated system, and every other component also matters. This guide makes a decorative charm; it does not provide a phone-retention or drop-protection rating.