How to Lay Out a Beaded Necklace on a Board and Check Its Real Drape
This guide helps you turn a board pattern into a physical drape trial before permanent finishing. It is an original planning and practice project for ordinary low-value adult decorative accessories, supported by the linked supplier or maker instructions. Keep the actual product directions beside the work, because cord, thread, beading wire and findings use different finishes. The examples are not tested load ratings or promises of permanent security. Make uncertain connections on an inexpensive sample first and stop before altering a valuable, antique or unidentified piece.
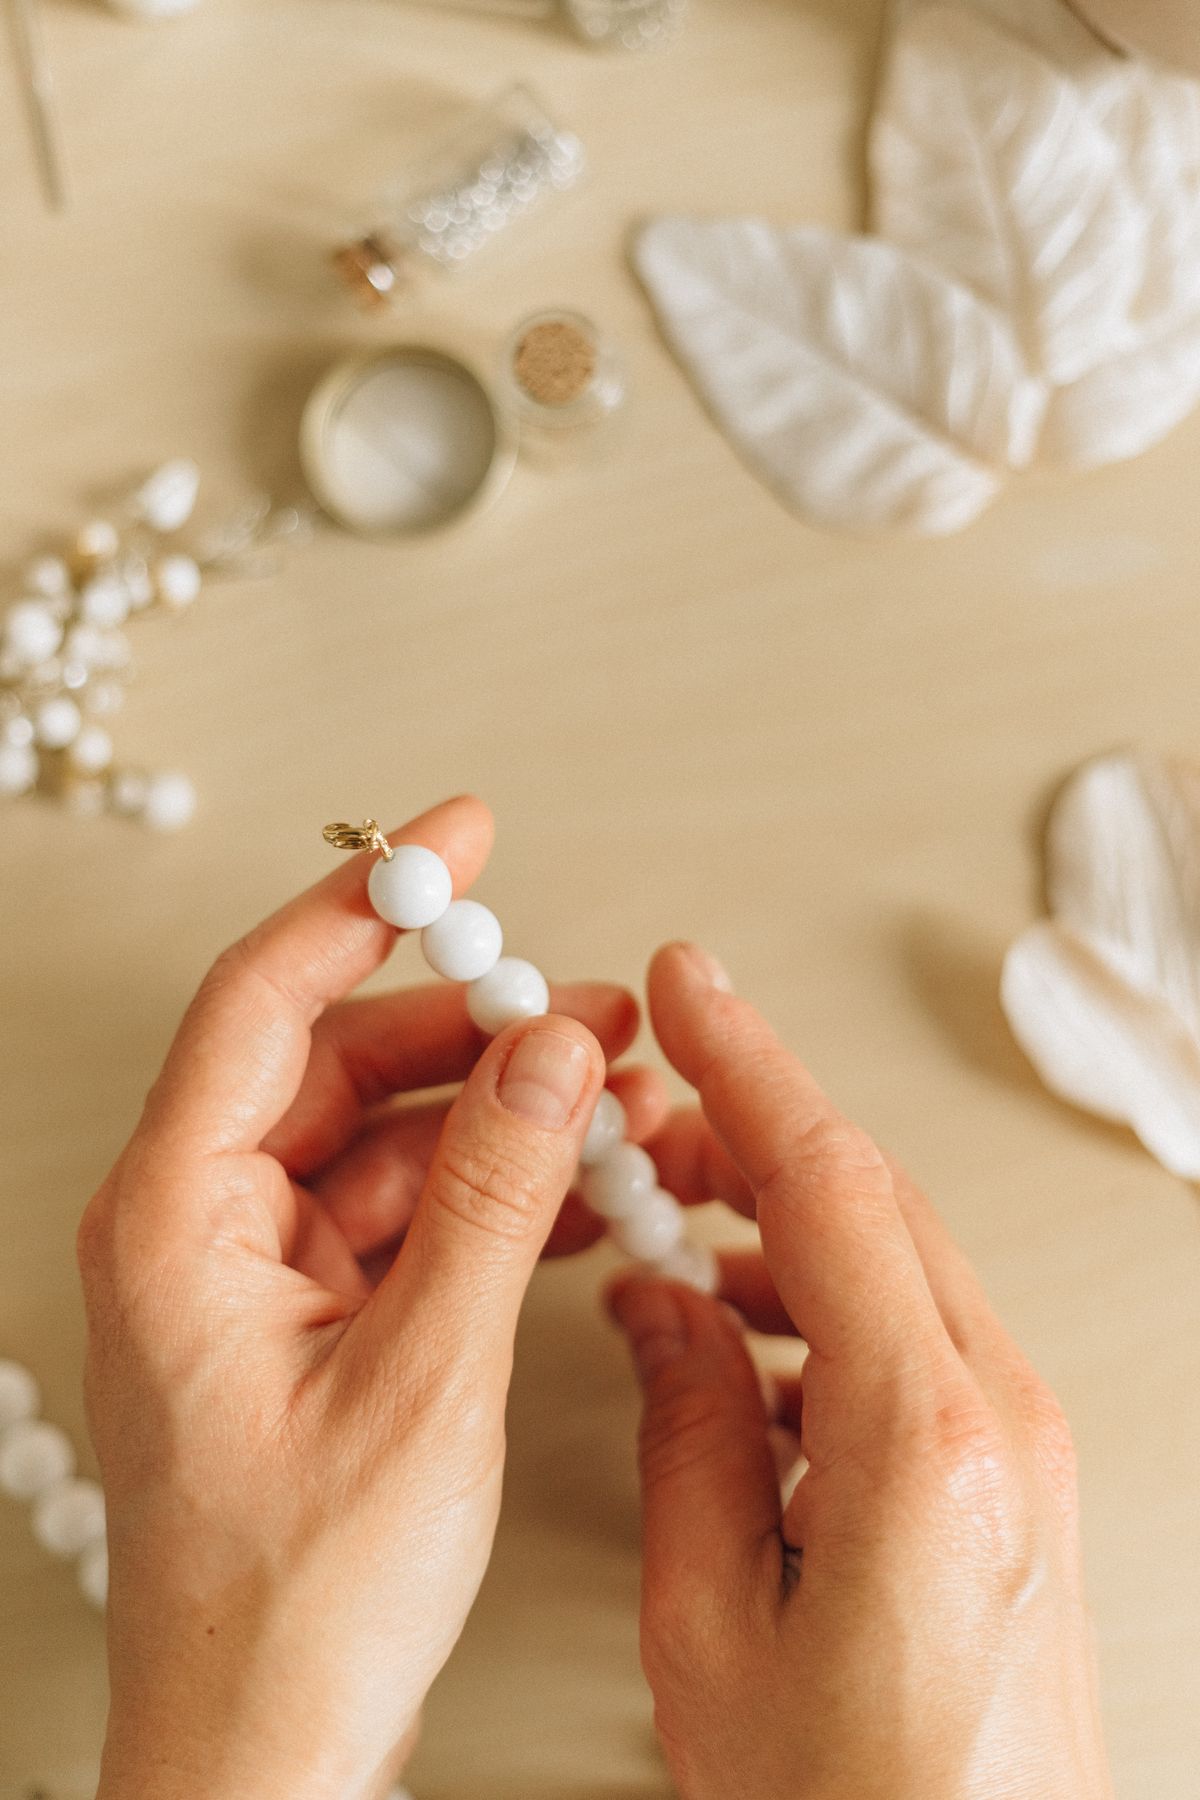
Photo: Pexels · License. Illustrative stock photography; pictured people, products and settings are not claimed to demonstrate this exact guide or endorse this publication.
Use the board as a planning tool
A board contains parts and preserves order while you compare designs. Its printed channels do not reproduce every finished necklace curve. Check how this board marks length and which units it uses. Keep actual findings beside the design rather than assuming the channel automatically includes the clasp and all connecting components.
Start from the center
Place the focal bead or central group first if the pattern has one. Inspect hole direction and how adjacent beads sit. An irregular centerpiece can change length and hang. Record that arrangement as its own module so later sizing adjustments do not accidentally rotate or move the intended focal point.
Build side sections deliberately
Work outward from the center and compare bead order as you go. Symmetry is optional, but any difference should be intentional. Keep pairs and small modules together so a missing component is visible. Separate spares from design quantities; loose extras in a channel can easily become an accidental pattern change.
Include the real closure
Measure the clasp, connection rings and extender as an assembly. Different styles occupy different lengths, and a toggle needs room to operate. Keep bead path and open finished length distinct. The board cannot tell you whether the wearer can reach and use the closure comfortably, so that question needs the temporary trial.
Make a stopped prototype
Use compatible temporary material with enough handling length and secure stoppers. Do not make irreversible crimps or trim close tails while fit remains unresolved. Keep small parts contained. A temporary fitting strand is not finished jewelry to leave unattended or wear as an experiment in whether an improvised connection will hold.
Observe actual drape
Check the intended wearing position on the wearer or an appropriate display. Bulk, focal weight, spacing and stringing stiffness can change the curve. A flat photograph cannot settle those effects. Identify one specific difference from the board layout and test a defined adjustment rather than adding length without knowing the cause.
Revise controlled sections
Add or remove balanced end modules where the design calls for symmetry. Smaller compatible spacers can solve a remainder more neatly than one large extra bead. Retest after a meaningful change. A successful design is a physical result, so do not protect an arithmetic estimate when the real prototype shows it is unsuitable.
Save a complete specification
Record counts, order, closure, stringing product and observed hang. Keep supplier nominal dimensions separate from your own measurements. If a later version uses another bead diameter or material, repeat the trial. The useful reusable asset explains both the visual sequence and the physical choices that made the necklace work.
An illustrative project decision
A layout looks centered in the curved channel, but a heavier focal bead pulls the trial strand differently. Keep the stringing temporary and check the real hang before crimping or trimming. Include the actual closure assembly and adjust both sides deliberately. The board helps organize order and approximate length; it cannot guarantee inside fit or drape. Save the successful sequence and observations rather than treating printed channel marks as a complete specification for the finished necklace.
Save the choices that make the project repeatable
Record the exact materials, actual measurements, component counts and construction method that helped you turn a board pattern into a physical drape trial before permanent finishing. Keep the fit observation separate from a supplier's nominal size and keep spare quantities separate from the design count. If a problem appears, identify whether it concerns compatibility, order, tension, closure access or the finish before changing several parts. A small temporary sample can answer that question with less risk of losing the intended pattern. Preserve enough working length for the maker's method and do not make an irreversible cut simply to meet a self-imposed deadline. Clear records make the next version easier without claiming that every replacement component behaves identically.
Your working checklist
Checkmarks stay in this browser when storage is available. They do not submit information or complete a purchase.
Put it into practice
- Check the board's units and place the actual center and closure nearby.
- Build the two side sections in a readable sequence.
- Record the nominal layout and keep spares separate.
- String a stopped temporary trial on compatible material.
- Check actual drape and closure access without permanent finishing.
- Revise deliberate sections and save the successful layout before construction.
Before you finish
- The completed sample addresses the aim to turn a board pattern into a physical drape trial before permanent finishing; a temporary fitting aid is not being mistaken for a finished connection.
- Materials and finishes match the exact maker's directions; appearance alone has not been used to choose a knot, crimp or clasp.
- Actual fit and ordinary operation have been reviewed without calling the result a certified strength test or a load-bearing device.
- Relevant material labels, component counts and care information are saved for an honest gift description or a later repair.
Common questions
Can I substitute a different cord or finding?
Only after checking the actual product's compatibility and finishing instructions. A similar diameter, color or shape does not prove the same construction will work. For this task, return to “Include the real closure” and make a small trial before committing the final components. Keep the substitute's material description accurate.
What if the first sample does not work?
Identify one specific problem and revisit “Observe actual drape.” Keep the work temporary while resolving it. A small sample that reveals an unsuitable fit or finish is useful information, not a reason to hide the connection or add unknown glue. Rebuild uncertain low-value parts with known compatible components.
Is a gentle pull enough to prove the piece is secure?
No. A visual and gentle functional inspection can reveal obvious defects, but it does not establish a certified breaking strength, fixed lifespan or guarantee against opening. These are adult decorative accessories. Do not use the project as a restraint, safety line, support or device-retention system.
How should I describe or gift the finished piece?
Use the actual known materials and explain any fit uncertainty. Keep cultured and imitation pearl labels distinct, and do not call unknown metal precious or allergy-safe. Provide care based on the components rather than a universal soaking method. Valuable, antique or unidentified pieces are better assessed by a qualified professional.