How to Practice a Sliding-Knot Cord Bracelet Without Flame or Unknown Glue
This guide helps you practice an adjustable closure on compatible cord before adding decoration. It is an original planning and practice project for ordinary low-value adult decorative accessories, supported by the linked supplier or maker instructions. Keep the actual product directions beside the work, because cord, thread, beading wire and findings use different finishes. The examples are not tested load ratings or promises of permanent security. Make uncertain connections on an inexpensive sample first and stop before altering a valuable, antique or unidentified piece.
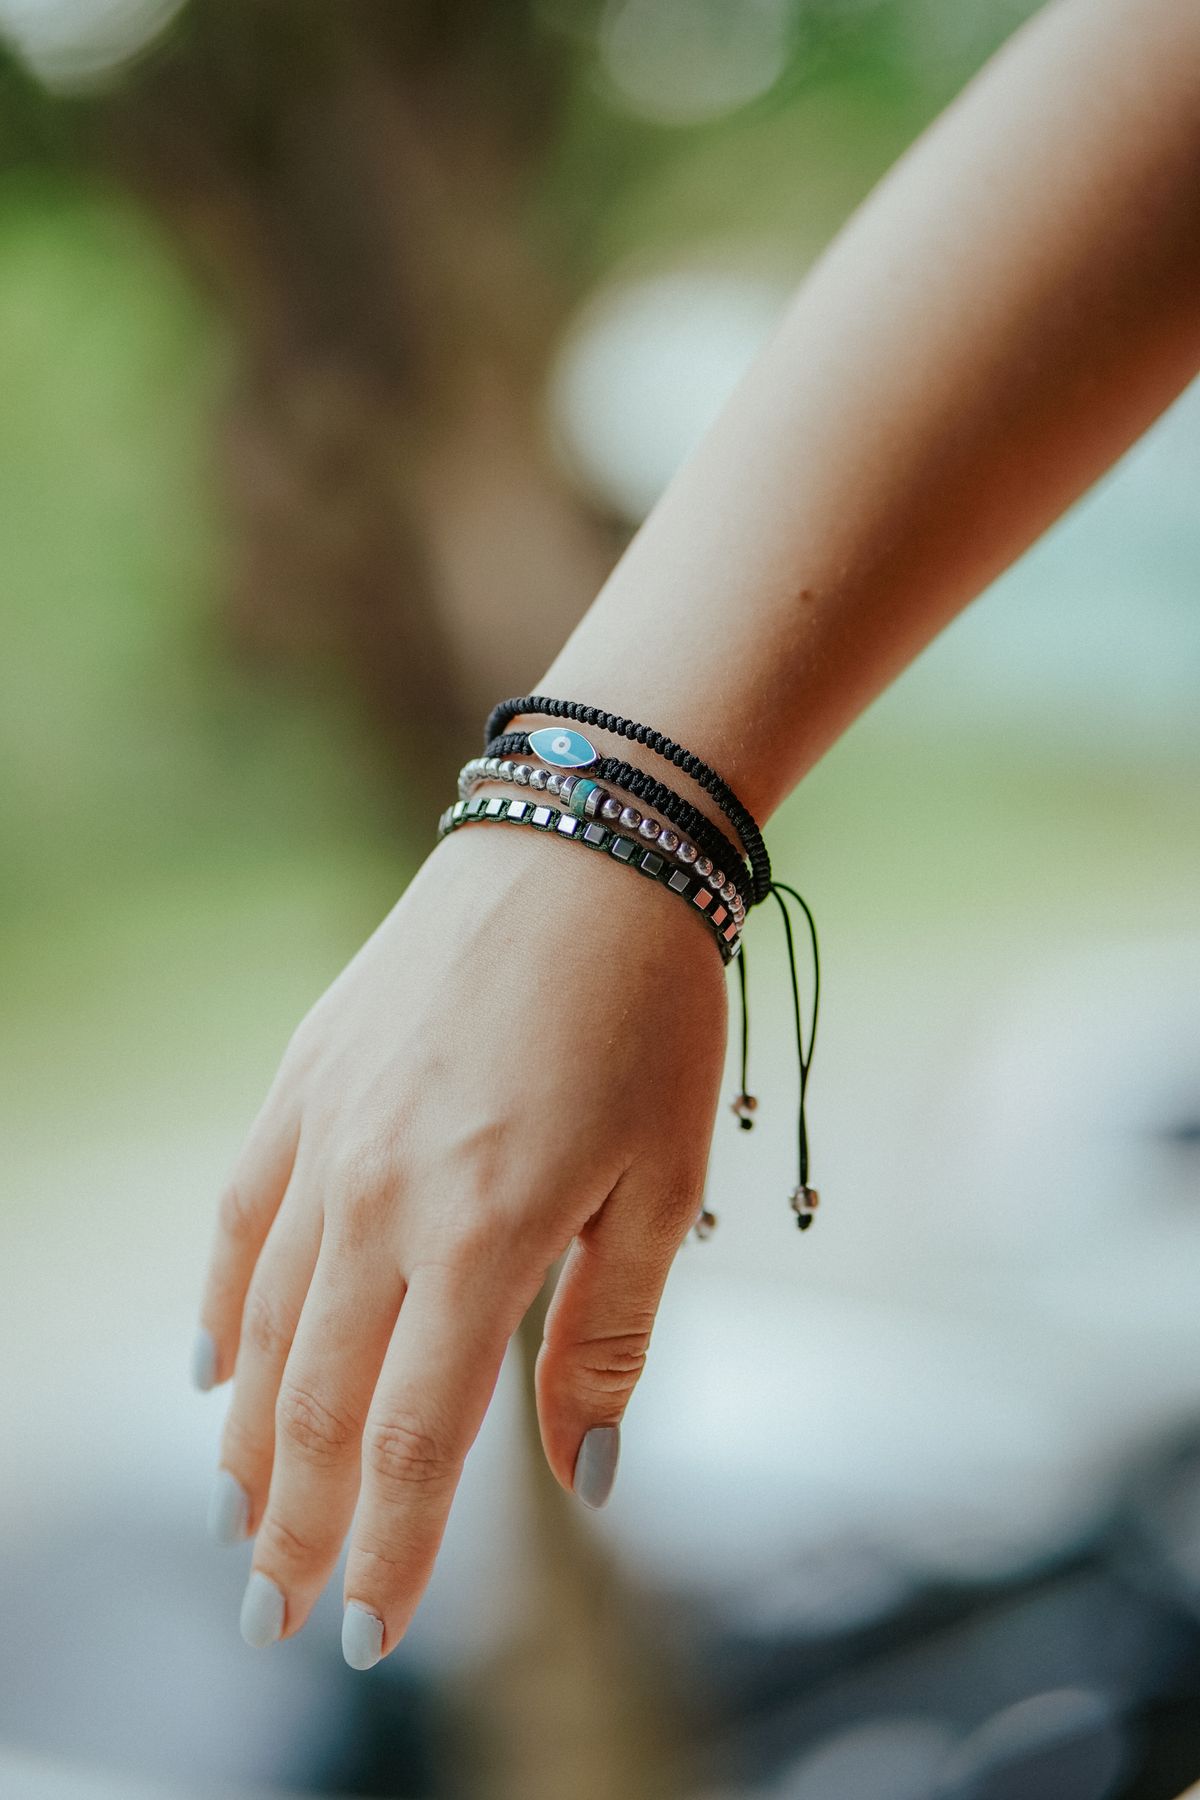
Photo: Pexels · License. Illustrative stock photography; pictured people, products and settings are not claimed to demonstrate this exact guide or endorse this publication.
Choose one clear method
Follow one illustrated sliding-knot reference from beginning to end instead of mixing diagrams for different knots. Caravan Beads shows a wrapped approach. Understand which section travels before tightening. A fixed knot joining two ends is not the same adjustable structure. This project supports practice, not a universal closure for every material.
Check cord compatibility
Read the cord description and the chosen method's recommendations. Smoothness, thickness and flexibility affect behavior. Damaged, excessively slick or fraying cord can make a method unsuitable. Do not compensate with random adhesive. Start with an inexpensive plain sample so handling is understood before adding beads that would be costly or difficult to recover.
Leave working length
Use enough cord to form, loosen and inspect both knots comfortably. Cut length depends on material, wearer and method, so a universal allowance is unreliable. Keep the first sample longer than the final plan. Short tails make an incorrect path harder to undo and can turn a useful practice attempt into a forced premature finish.
Arrange opposite directions
Overlap the ends so each working tail can make its knot around the opposite standing section. Keep the route visible on the mat. Compare with the selected illustration before wrapping. A reversed start can produce a different knot, and tightening it harder will not convert it into the intended sliding structure.
Form the first wrapped knot
Follow the illustrated wrap count and return path, keeping the wraps orderly. Pass the tail through as shown and tighten gradually. Check that the intended cord still moves. Do not seize everything tightly at once and then assume glue is needed. A readable path and compatible cord matter more than maximum pulling force.
Mirror and test
Repeat the same construction at the opposite end and test the largest and smallest useful loop positions. The bracelet must open enough for intended use and close comfortably. Adjustable does not mean every sample fits every wearer. Keep decorative beads from obstructing the knots or limiting the required travel.
Avoid improvised end treatment
This project uses no flame or unknown glue. Follow only the cord maker's suitable finish, keeping any permitted treatment away from parts intended to slide. Preserve enough tail for adjustment and inspection. A melted-looking or hidden end is not evidence that a knot is correct, and a cosmetic finish cannot repair an uncertain path.
Keep the scope decorative
Inspect for slipping, fraying, seized motion and short tails. Rebuild an uncertain sample rather than wearing it to discover its strength. Remove jewelry for activities likely to catch it. Nothing here establishes a load rating or makes the bracelet suitable as a restraint, safety line or support for a phone or other device.
An illustrative project decision
A slick cord slides too freely while another becomes difficult to adjust when tightened. Keep these as sample observations rather than declaring one knot universally reliable. Use a compatible cord and compare the illustrated path before trimming. Make the first sample plain and leave tails long enough to inspect. Do not seal unknown material with flame or put household glue into a part intended to slide. The result is adult decorative jewelry, with no load rating or claim of guaranteed retention.
Save the choices that make the project repeatable
Record the exact materials, actual measurements, component counts and construction method that helped you practice an adjustable closure on compatible cord before adding decoration. Keep the fit observation separate from a supplier's nominal size and keep spare quantities separate from the design count. If a problem appears, identify whether it concerns compatibility, order, tension, closure access or the finish before changing several parts. A small temporary sample can answer that question with less risk of losing the intended pattern. Preserve enough working length for the maker's method and do not make an irreversible cut simply to meet a self-imposed deadline. Clear records make the next version easier without claiming that every replacement component behaves identically.
Your working checklist
Checkmarks stay in this browser when storage is available. They do not submit information or complete a purchase.
Put it into practice
- Select a compatible cord and practice with generous ends.
- Overlap ends in opposite directions and compare the selected illustrated path.
- Wrap one tail around the opposite cord and return it through its own wraps as shown.
- Tighten gradually while checking the other section can slide.
- Mirror the knot at the opposite end and test the adjustment range.
- Keep sufficient tails and use only the cord maker's stated finish, without flame or unknown glue.
Before you finish
- The completed sample addresses the aim to practice an adjustable closure on compatible cord before adding decoration; a temporary fitting aid is not being mistaken for a finished connection.
- Materials and finishes match the exact maker's directions; appearance alone has not been used to choose a knot, crimp or clasp.
- Actual fit and ordinary operation have been reviewed without calling the result a certified strength test or a load-bearing device.
- Relevant material labels, component counts and care information are saved for an honest gift description or a later repair.
Common questions
Can I substitute a different cord or finding?
Only after checking the actual product's compatibility and finishing instructions. A similar diameter, color or shape does not prove the same construction will work. For this task, return to “Arrange opposite directions” and make a small trial before committing the final components. Keep the substitute's material description accurate.
What if the first sample does not work?
Identify one specific problem and revisit “Mirror and test.” Keep the work temporary while resolving it. A small sample that reveals an unsuitable fit or finish is useful information, not a reason to hide the connection or add unknown glue. Rebuild uncertain low-value parts with known compatible components.
Is a gentle pull enough to prove the piece is secure?
No. A visual and gentle functional inspection can reveal obvious defects, but it does not establish a certified breaking strength, fixed lifespan or guarantee against opening. These are adult decorative accessories. Do not use the project as a restraint, safety line, support or device-retention system.
How should I describe or gift the finished piece?
Use the actual known materials and explain any fit uncertainty. Keep cultured and imitation pearl labels distinct, and do not call unknown metal precious or allergy-safe. Provide care based on the components rather than a universal soaking method. Valuable, antique or unidentified pieces are better assessed by a qualified professional.