How to Make Matching Bead Earrings with Simple Loops
A simple-loop earring is a useful first wire project because every part of the connection remains visible. The goal is a lightweight matching pair, not an oversized statement piece. You will use headpins with smooth beads, a consistent reference on the round-nose pliers and ready-made ear wires of a known material. The project does not include piercing or making claims about allergy-safe metals.
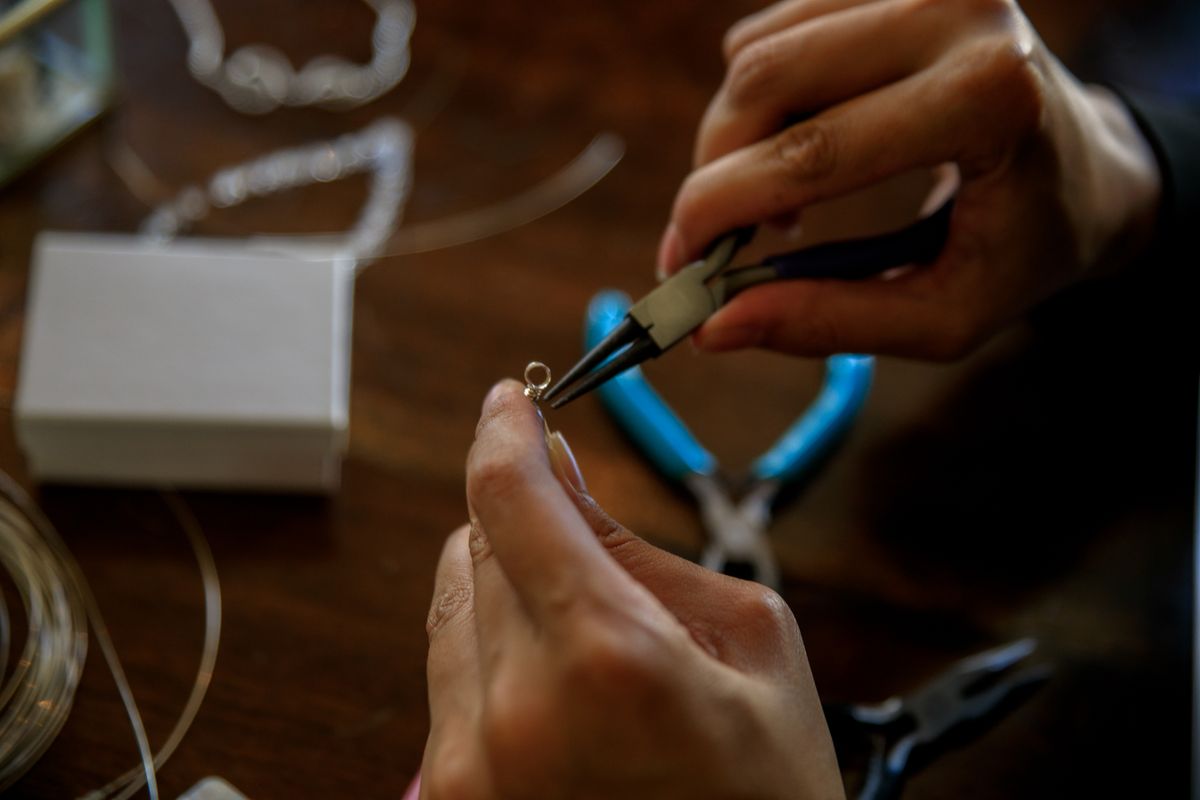
Photo: Pexels · License. Illustrative stock photography; pictured people, products and settings are not claimed to demonstrate this exact guide or endorse this publication.
Select beads and ear wires honestly
Choose two similar lightweight beads with holes that stop securely above the headpin head. If a hole is too large, select a compatible small spacer rather than balancing it on a head that can slip through. Read the ear-wire material description; color alone cannot identify sterling silver, gold-filled metal or a plating. Do not label an unknown finding hypoallergenic. Use new clean components and keep the pair for an adult wearer.
Compare the two bead stacks before forming wire
Arrange the two headpins side by side and add the planned beads in the same order. Compare total stack height as well as color and diameter; natural or irregular beads can make two nominally identical stacks look different. If the focal beads vary slightly, choose spacers that bring the overall silhouettes into balance. Decide which face should point forward before any loop is rolled. Matching is a design judgment, not a claim that every bead is identical.
Mark a repeatable point on the pliers
Round-nose pliers taper, so gripping at different positions changes the loop diameter. Choose a point that gives an appropriate opening for the ear-wire connection and use a removable marker as a visual reference if suitable for the tool. Practice on spare headpins. The aim is a rounded loop that closes back to its stem, not a hook with an open gap. A loop that is too large can twist or look disproportionate beside a small bead.
Bend and roll without crushing the bead
Support the wire just above the bead stack and make the bend needed for the selected simple-loop method. Leave enough wire for the loop according to your practice result and the tool demonstration. Roll the end around the rounded jaw while keeping the bead clear of the tool. Avoid squeezing a glass bead between the jaws or repeatedly bending one section back and forth. If the wire cracks or becomes badly distorted, start with a fresh headpin.
Match the second dangle to the first
Use the finished first dangle as a reference for loop size, neck height and orientation. Check from the side as well as from the front. If one loop sits much higher, remaking a low-cost headpin is usually better than forcing the first piece to match a poor second attempt. Keep both dangles on a mat, not hanging from your ears, while comparing them. No cosmetic adjustment should leave an open gap in the loop.
Connect the ear wires with controlled movement
Open an appropriate connecting loop with a sideways twisting motion rather than pulling it into a wide oval, following the finding’s instructions. Attach the dangle with its intended front facing outward, then return the loop ends into alignment. Do not pry apart a soldered or fixed ring. Check that the dangle moves freely and is not trapped by a too-small connection. Any cut wire end should face away from the wearer and be smooth.
Troubleshoot orientation and unequal movement
If one bead faces sideways, inspect which loop changed plane before twisting the whole dangle. A lopsided loop may need to be remade rather than flattened against the bead. If the dangle catches on the ear wire, select compatible connections or a smaller loop arrangement. A simple loop is not appropriate for every heavy or high-stress accessory; consider a correctly constructed wrapped-loop design for applications that need a closed wrapped connection.
Prepare the pair for wearing or gifting
Inspect the ear-wire tips, headpin heads, loop gaps and loose spacers under good light. Put the earrings on a card with separate holes so the dangles do not tangle. Record the material information from the supplier and give care directions that match those components. Do not immerse mixed materials in a universal cleaner. If the wearer reacts to a material, stop using the earrings and choose suitable professional advice rather than trying to coat an unknown metal at home.
Your working checklist
Checkmarks stay in this browser when storage is available. They do not submit information or complete a purchase.
Put it into practice
- Inspect both beads and headpins, then build two matching stacks before using pliers. Check that the headpin heads cannot pass through the bead holes and that the intended front face is clear.
- Practice one loop on a spare headpin and choose a repeatable point on the round-nose jaws. Keep a sample that closes neatly so it can guide the diameter and remaining wire allowance.
- Form the first dangle with the bead protected from the tool jaws. Bend and roll in controlled movements, then inspect the closing point and remake the piece if the wire is visibly damaged.
- Make the second dangle using the same plier reference. Compare height, loop roundness and facing direction beside the first rather than judging each piece separately.
- Attach both dangles to appropriate ear-wire loops using a controlled sideways opening where the component permits it. Close the connections fully and confirm that the beads articulate freely.
- Check smoothness and all gaps under good light, record the actual metal descriptions and package the pair separately on a card. Leave any unknown material clearly identified as unknown.
Before you finish
- Both headpin heads retain their beads.
- Loops are closed and similar in size.
- Front faces and movement match.
- Ear-wire material is described without unsupported allergy claims.
Common questions
Why are the loops different sizes?
The pliers may have gripped at different points on their tapered jaws, or the remaining wire lengths differed. A consistent jaw reference and a spare practice sample make a matching pair easier to produce.
Can I open any metal ring?
No. Some rings are fixed or soldered and should not be pried open. Use findings designed for the intended connection and follow their assembly instructions, opening an appropriate unsoldered loop sideways rather than stretching it outward.
What if my beads are heavy?
Choose a lighter first project. Heavy pieces can be uncomfortable and can place greater stress on simple loops. Do not infer a safe weight from appearance; consider a different design and appropriately constructed findings.
Can I call gold-colored ear wires gold?
Only describe the material supported by the supplier’s documentation. Gold-colored plating, gold-filled metal and solid gold are different descriptions. Keep material details on the gift card rather than making assumptions from color.