How to Measure Your Wrist for a Beaded Bracelet
A bracelet has more than one useful measurement. Wrist circumference describes the wearer; the length of an open strand describes a component; the inside circumference describes the space available when the bracelet is closed. Confusing those measurements is a common reason a carefully counted bracelet feels tight. This adult project-planning method separates them and uses an inexpensive trial strand before the final finish.
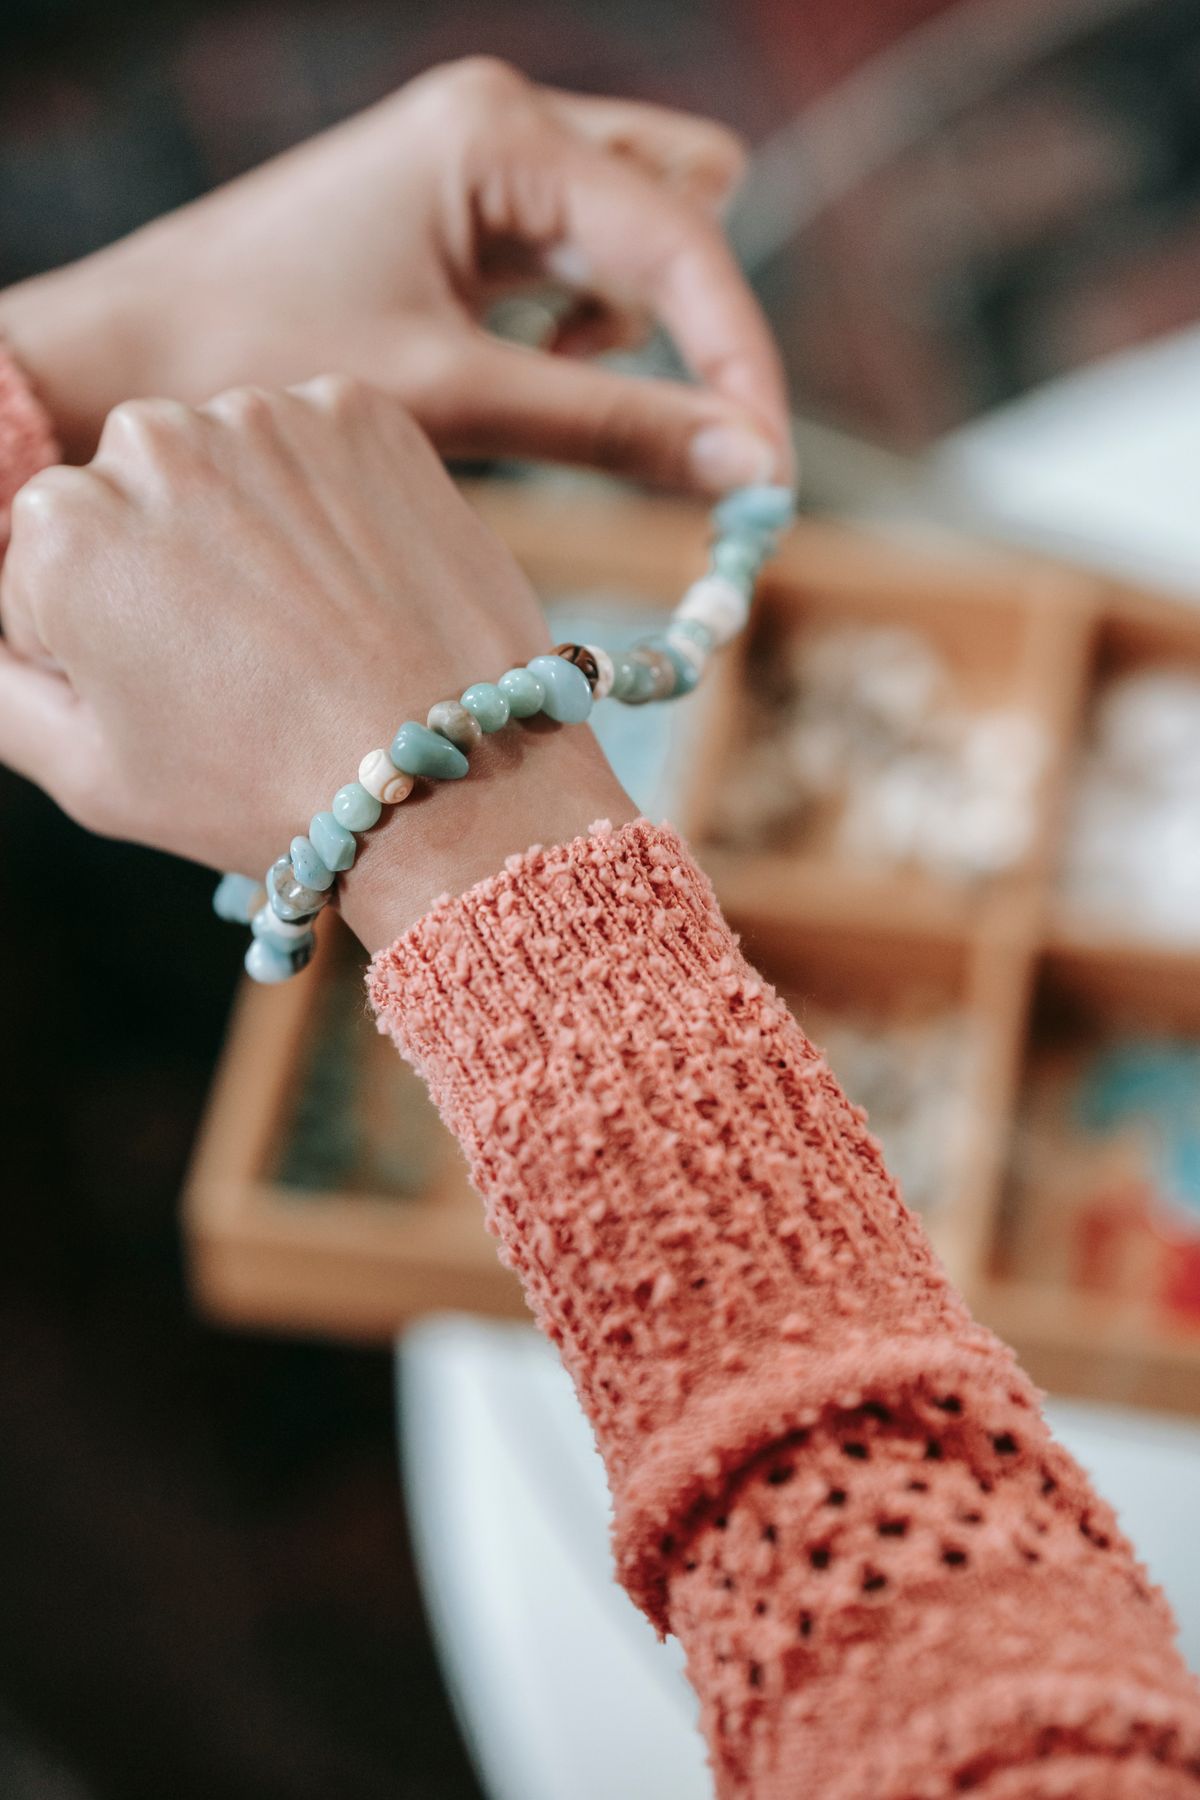
Photo: Pexels · License. Illustrative stock photography; pictured people, products and settings are not claimed to demonstrate this exact guide or endorse this publication.
Start with the wearer and intended fit
Use a flexible tape against the part of the wrist where the bracelet will sit. Keep the tape flat and comfortable rather than pulling it into the skin. If using paper, mark the overlap, then measure that strip on a ruler. Take the measurement twice with the hand relaxed. Record millimeters and the preferred feel: close, freely moving or deliberately loose. A photograph of another bracelet cannot establish the recipient’s wrist size.
Keep three lengths in separate boxes
Create three fields in the project notebook: wrist circumference, target inside fit and open finished length. Add a fourth field for bead diameter. Do not automatically copy the same number into each box. An open clasp contributes to the end-to-end length, while bulky beads occupy some of the space that the wrist needs inside the closed bracelet. The useful final check is a comfortable closed prototype, not an attractive measurement written on a bead board.
Why bead diameter changes the result
Imagine two bracelets with the same number of beads: one uses small rounds, the other large rounds. Their hole-to-hole paths and inside spaces differ. Even when an open ruler measurement matches, a thick strand can fit differently from a thin chain. Treat online bead-count tables as purchase estimates. If the design changes from 4 mm rounds to 8 mm rounds, repeat the trial fitting rather than assuming that the same clasp allowance will solve the difference.
Make a temporary fitting strand
Lay out the intended beads and clasp, then string the beads on a temporary length of suitable material. Use stoppers so nothing spills. Hold a clasp prototype closed without crushing a permanent crimp or trimming elastic. Rest the bracelet on the wrist and check movement, rotation and the ability to close it. Keep the temporary strand away from children and pets; this fitting is not a wearable finished piece and must not be left unattended.
An illustrative measurement record
Suppose the wrist measures 160 mm. You may initially try a closed interior near 170 mm, then adjust according to the wearer’s comfort, bead bulk and closure. That 10 mm difference is a trial choice, not a universal sizing rule. If the prototype feels restrictive, add a balanced bead pair or revise the closure. Record the actual successful layout, for example the number of rounds on each side, the centerpiece width and the chosen clasp assembly.
Allow for the closure before finishing
A lobster clasp, jump rings, extender and toggle do not occupy identical lengths. Put the actual components beside the layout; measuring only the clasp body misses its connecting rings. A toggle also needs room to pass through its receiving ring. For a stretch bracelet, check that the selected cord can accommodate putting it on according to the cord maker’s directions. A bracelet that fits the wrist but cannot be put on comfortably needs a different design.
Adjust the pattern without losing balance
When adding length to a symmetrical design, make the adjustment on both sides of the focal point. If one extra large bead makes the piece too loose, use smaller spacers or reconsider the bead size. Keep a list of alternative modules, such as two 3 mm spacers versus one 6 mm round; their real measured lengths may differ from nominal labels. Recheck the closed prototype after each change so appearance and fit are resolved together.
Keep a usable repeat record
Save the final inside-fit observation, actual component list and a simple layout sketch. Note whether the wearer preferred the bracelet above or below the wrist bone. When making a gift, ask for a comfortable existing bracelet’s dimensions and bead size rather than guessing from clothing size. Label an unknown measurement as unknown. Keep the prototype notes so a later repair or matching bracelet can be rebuilt without taking apart the finished gift.
Your working checklist
Checkmarks stay in this browser when storage is available. They do not submit information or complete a purchase.
Put it into practice
- Measure the relaxed wrist twice at the intended wearing position. Write both readings and resolve any noticeable difference before choosing an allowance. Do not measure over a sleeve unless the bracelet is specifically intended to be worn over it.
- Lay the actual closure assembly next to the beads. Include every jump ring and extender section that will remain in the finished bracelet, and identify which parts are permanent and which are only temporary fitting aids.
- Build a stopped trial strand with the intended bead sizes. Keep enough excess material to hold both ends securely, and avoid making an irreversible crimp or cord cut while the fit is still being decided.
- Hold the prototype closed and try normal wrist movements. Check the preferred looseness, whether a centerpiece rotates underneath and whether a clasp can be reached without twisting the hand uncomfortably.
- Alter the layout in balanced increments. Replace one large adjustment with smaller spacer combinations if needed; record each tested version so that the final choice does not get confused with a rejected arrangement.
- Rebuild the successful layout using the appropriate finishing method for its stringing material. After finishing, check the actual closed bracelet again and retain the final measurements with the component list.
Before you finish
- Wrist, interior fit and open length are labeled separately.
- Closure is usable and no temporary stopper remains.
- Pattern still balances after any sizing adjustment.
- No claim that one fixed allowance fits every wearer.
Common questions
Can I use a watch strap size?
Use it as a starting clue only. A wide watch strap and a beaded bracelet have different shapes and preferred positions. Measure the intended wearing area and confirm the actual bead prototype before finishing.
How much extra length should I add?
There is no single allowance for every wearer and bead size. Start with a modest trial adjustment, then judge the closed interior and comfort. The illustrative 10 mm example is a test choice rather than a sizing standard.
Can I measure a bracelet laid flat?
Yes, but label that as an open or flat measurement and note the closure and bead diameter. It cannot fully describe the inside fit of a bulky closed bracelet. A fitting prototype provides a better comparison.
What if the recipient is unavailable?
Ask for measurements of a comfortably worn bracelet and its bead size, or choose an adjustable design within a stated range. Avoid permanently finishing an exact-size gift from a wrist estimate alone.