How to Make a Beginner Stretch Bead Bracelet
A stretch bracelet removes the clasp from a beginner project, but it does not remove the need to choose a compatible cord and finish. This guide builds a small adult accessory with smooth lightweight beads and a simple repeat. The knot, any adhesive and preparation must follow the directions for the exact elastic product, because different cords are not interchangeable.
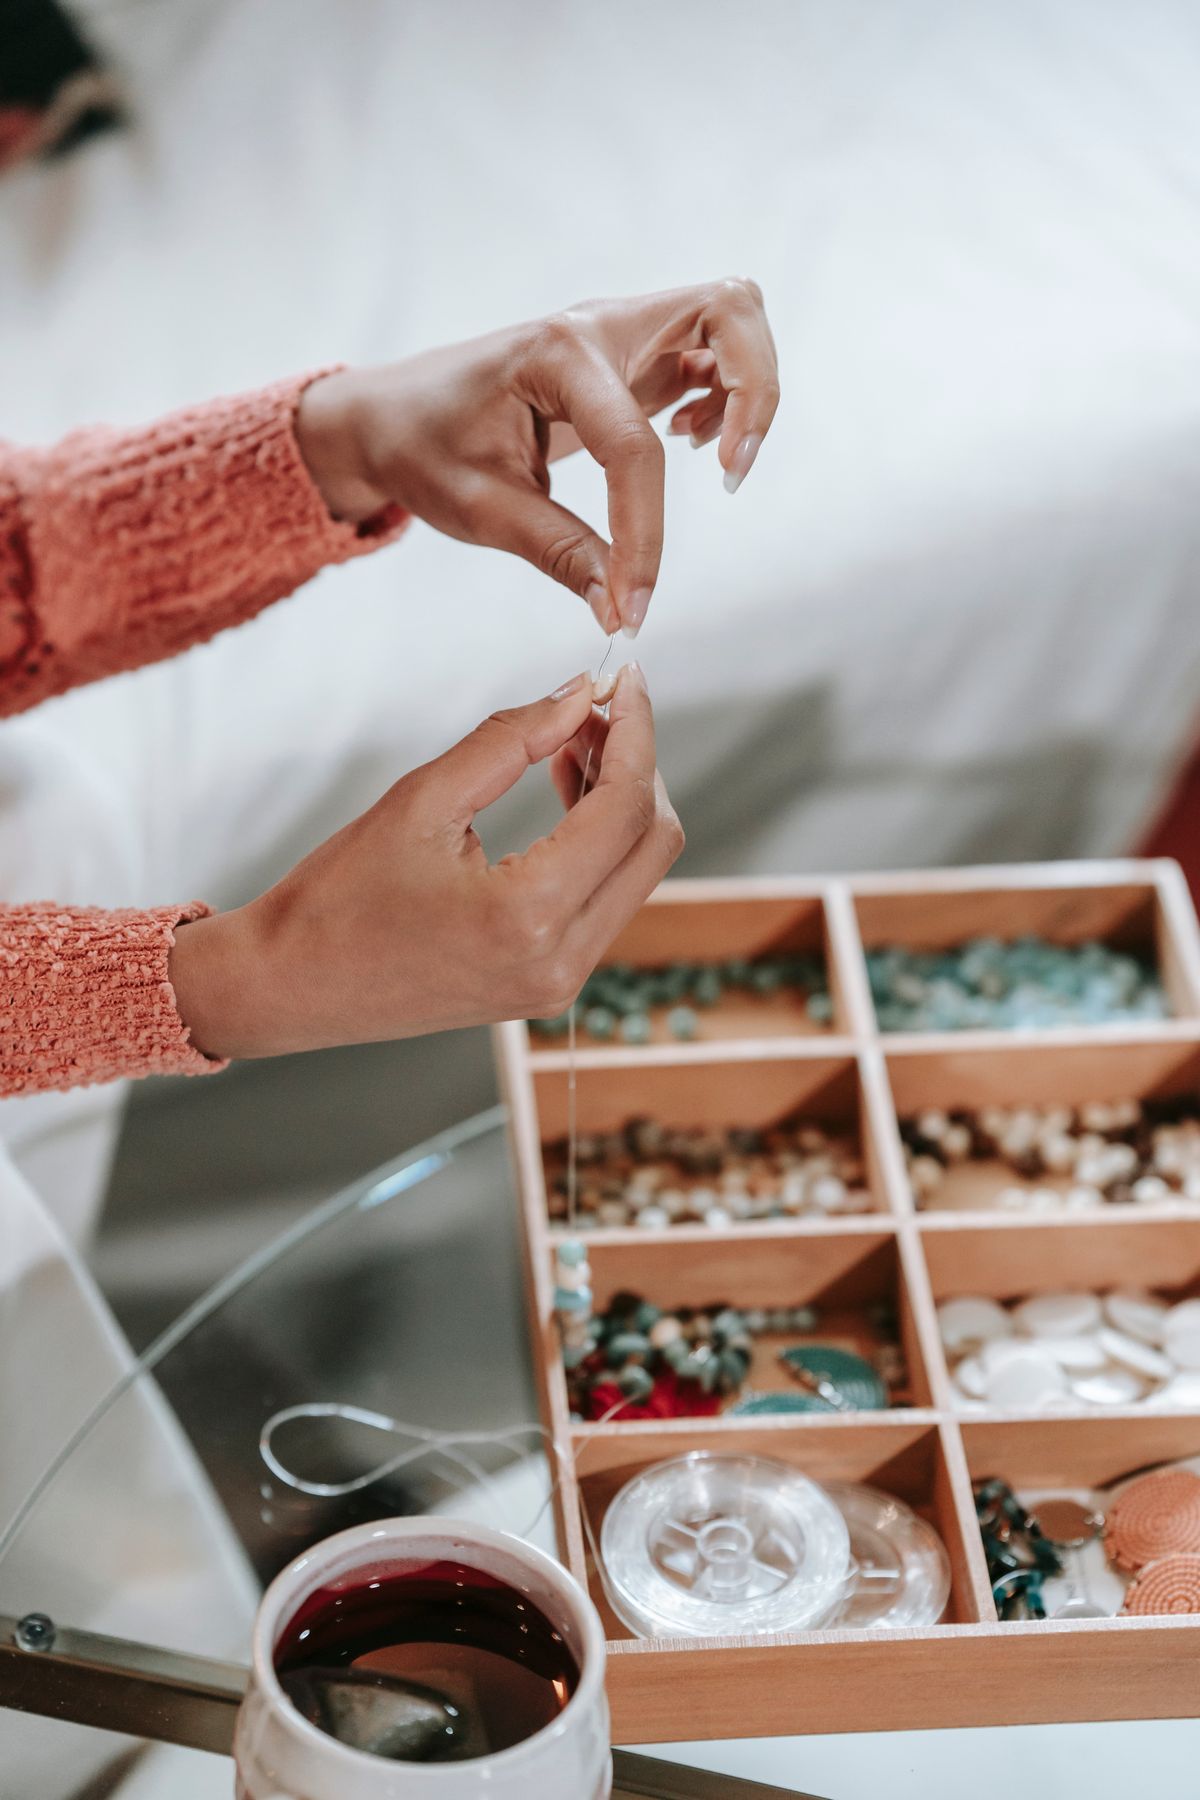
Photo: Pexels · License. Illustrative stock photography; pictured people, products and settings are not claimed to demonstrate this exact guide or endorse this publication.
Choose a first project that is easy to inspect
Start with one strand of smooth beads in one or two sizes. Avoid a heavy centerpiece, sharp metal spacers or an unusually tight fit on the first attempt. A plain pattern makes it easier to see an incorrectly threaded bead, a gap or a damaged section of cord. Keep the complete project over a bead mat or shallow tray. This is an adult jewelry project with loose small parts, not a children’s bracelet or toy.
Check the cord against the smallest hole
Read the elastic label for its material, diameter, preparation and finishing directions. Test the cord through several of the smallest holes before stringing the entire bracelet. A slightly larger decorative bead can be positioned near the knot only if its hole genuinely accommodates the finished connection without forcing. Do not drill unknown beads or scrape holes with an improvised tool to make an incompatible cord fit. Choose a different bead or cord instead.
Prepare enough working length
Cut enough cord for the planned bracelet plus generous handling tails according to the product directions. Short tails make a controlled knot much harder. If the maker instructs pre-stretching, do that gently as directed before adding beads. Do not assume the same preparation applies to every elastic material. Secure one end with a bead stopper, keeping metal jaws away from the part of the cord that will remain inside the finished bracelet.
Lay out a repeat before stringing
For an illustrative pattern, arrange two pale beads followed by one dark bead. Ten repeats use 20 pale and 10 dark beads, but this count is only a pattern example, not a fit specification. Test the actual length on a temporary strand and adjust the repeat or spacers. Keep an extra small group of each color in a separate dish. A replacement bead is easier to find now than after the last bead rolls away.
Tie the connection specified for the product
Bring the ends together without stretching the finished bead circle tight. Use the knot shown by the elastic manufacturer and maintain a little working space so you can inspect it. If an adhesive is specified, use only a compatible type and the stated amount, with the label’s handling and curing instructions. Household glue is not a universal substitute. Ordinary metal crimps designed for beading wire should not be improvised onto stretch cord.
Leave the finish alone while it sets
If the selected system has a curing period, leave the bracelet in a safe undisturbed tray for the full specified time. Avoid cutting the tails prematurely or pulling the knot into a small bead hole while it is still being checked. A hidden knot is a cosmetic choice; an unverified hidden connection is difficult to inspect. Keep cord packaging and adhesive directions beside the project until the finish is complete.
Diagnose gaps, slipping and tightness separately
A visible gap may indicate a loose layout, an oversized knot or a bead that is catching on the cord. A slipping knot needs to be retied or rebuilt using the actual product instructions; adding random extra adhesive does not resolve an unknown knot. A bracelet that feels tight needs more interior space, not stronger stretching. If the cord is nicked or frayed, replace it rather than covering the damaged point with another bead.
Wear and store without treating elastic as permanent
Put the bracelet on in a way that limits unnecessary overstretching, and remove it before activities likely to catch or wet the piece. Follow the bead and cord makers’ care advice rather than assigning one cleaning solution to every material. Store it without being pulled around a large display form. Check the cord and knot from time to time; remake the strand if wear appears. No handmade elastic connection lasts indefinitely.
Your working checklist
Checkmarks stay in this browser when storage is available. They do not submit information or complete a purchase.
Put it into practice
- Select a simple bead repeat and write down its counts. Test the smallest bead holes on the actual elastic, then set aside any bead with a rough or chipped opening before it can damage the cord.
- Measure a fitting prototype using the intended bead size. Cut the manufacturer-directed working length with comfortable tails, prepare the cord as instructed and secure one end so the first beads cannot slide away.
- String one repeat at a time over the tray. After every few repeats, compare the sequence with the layout and remove any reversed or mismatched bead while the end is still open.
- Check the closed size while keeping both cord ends under control. Adjust the layout now; do not plan to compensate for a tight bracelet by leaving the elastic permanently stretched.
- Finish with the knot and any compatible adhesive specified by the cord maker. Inspect the connection in the open, allow the full stated cure if relevant and only then trim according to those directions.
- Inspect the entire circle for gaps, sharp bead edges and damaged cord. Confirm comfortable fit, retain the materials label and remake any connection that slips rather than presenting it as a finished gift.
Before you finish
- Exact cord instructions were followed.
- No ordinary metal crimp was added to elastic.
- The connection is stable after the required setting time.
- Fit does not depend on permanent overstretching.
Common questions
What knot should every elastic bracelet use?
There is no universal answer across all elastic products. Use the knot shown for the exact cord you bought. Keep its packaging so that the knot and adhesive guidance can be checked together.
Can I use superglue?
Do not assume a household adhesive is compatible with jewelry elastic. Follow the cord maker’s specified adhesive, if one is required, and its curing directions. An unsuitable adhesive can produce a poor or brittle connection.
Should I use two strands?
Only if the bead holes and chosen finishing system support that construction. Two incompatible strands do not automatically make a better bracelet; a correctly matched single-strand project is easier for a beginner to inspect.
Why does the bracelet feel tighter than its ruler length?
Large beads occupy interior space, and an open measurement includes parts that do not describe the closed interior. Return to a temporary fitting strand and adjust the bead layout before retying.