How to Finish a Beading-Wire Bracelet with Crimp Tubes
A beading-wire bracelet uses flexible coated jewelry cable, not a piece of ordinary craft wire. Its finish depends on a matched combination of cable, crimp tube and tool. This project explains the order of decisions and checks around a basic clasped strand. Use the component manufacturers’ size charts and the crimp tool’s actual instructions for the fold or compression sequence.
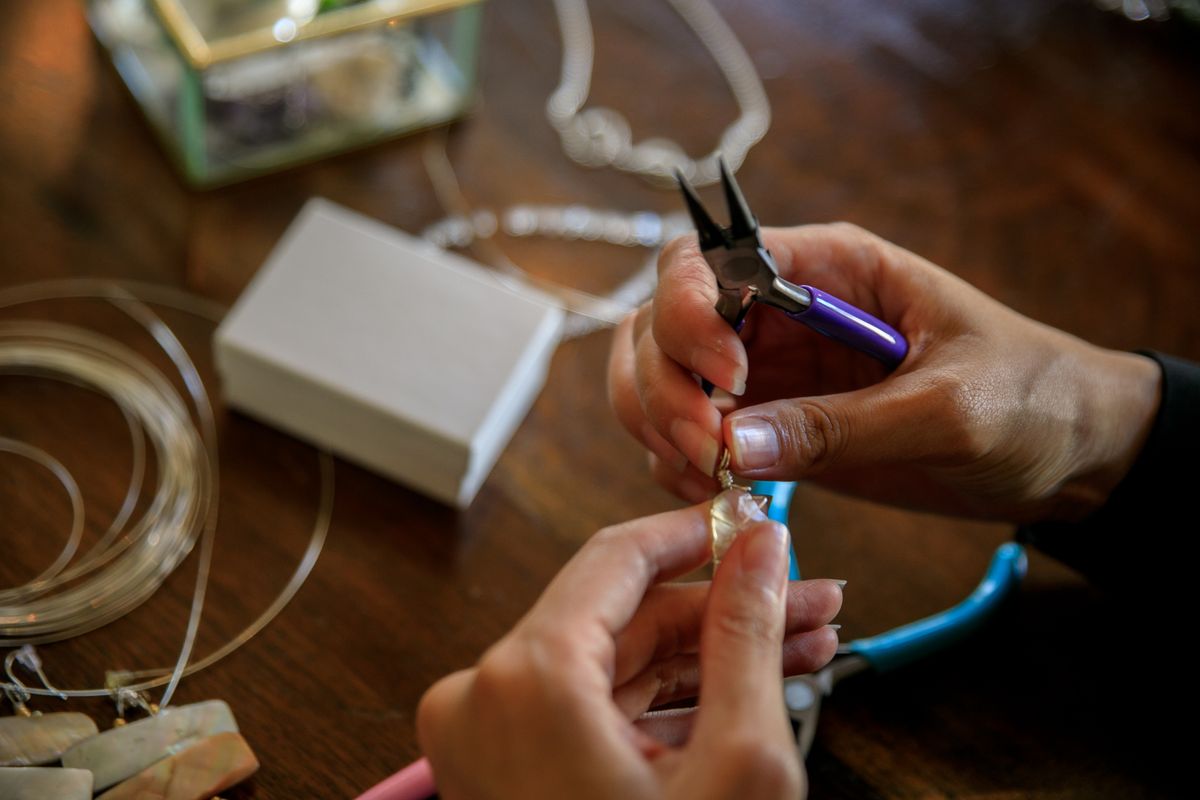
Photo: Pexels · License. Illustrative stock photography; pictured people, products and settings are not claimed to demonstrate this exact guide or endorse this publication.
Choose the wire and tube as a system
Select flexible beading wire suitable for the weight of the beads and small enough to pass through the intended holes. At a closure the wire usually returns through the crimp, so the tube must accommodate that configuration. Read the wire and crimp makers’ compatibility information instead of buying a tube only by its outer appearance. A decorative crimp cover is optional; it conceals a completed connection and is not the part that holds the wire.
Plan the entire closure assembly
Place the clasp, receiving ring, connection rings and any wire guards next to the bead board. Decide whether the wire loop will pass directly through the finding or use a compatible guard. Include these components in the fitting prototype. Avoid an oversized wire loop that can catch and a loop pulled so tight that the clasp cannot move. The finished assembly should articulate rather than force the cable into a sharp bend.
Make a practice finish on scrap first
Use a short spare length of the actual wire and one matching tube. Follow the tool maker’s instructions for that tube style, then inspect the result from more than one direction. Learn how the jaws locate the tube before working beside the final beads. Do not repeatedly crush a malformed crimp in the hope that it will recover. Cut off a failed practice end and use a fresh tube and undamaged cable.
Leave working tails and stop the loose end
Cut enough wire for the bracelet plus comfortable working tails. Build the first connection, returning the tail through the tube and any suitable adjacent beads as the component directions allow. Keep the other end stopped while you string the pattern. The stopper is temporary and must be removed before the second finish. Check that the tail has a smooth path and cannot poke through a bead gap toward the wearer.
Set the second end with movement in mind
After stringing, bring the second closure into place without forcing all beads into a rigid line. Curve the strand into its worn shape before deciding its final tension. A tiny amount of movement between components is different from a conspicuous empty gap. If the strand forms a stiff arc or presses the crimp against a bead edge, ease the layout before securing it. Finishing flat and tight can disguise a poor closed fit.
Inspect the crimp rather than hiding a problem
Check that the wire has not slipped and the cable coating has not been visibly damaged near the tube. Move the clasp gently through its ordinary range. If the connection looks malformed or the tail moves, rebuild that end with fresh compatible components. Do not use a cover to hold a faulty crimp together. Avoid aggressive pulling that could injure your hands or launch beads; ordinary handling checks do not certify a load rating.
Add covers only after the connection passes
If using a cover, choose one sized for the finished tube and close it with the recommended tool. Keep it from trapping the clasp at an awkward angle. Inspect the seam and check that no sharp edge touches the skin. A slightly visible plain tube can be a better result than a crushed, bulky cover. The decorative finish should leave the actual wire connection free to move as intended.
Record exactly what worked for a future repair
Save the wire diameter and brand, tube size and style, tool used and a sketch of the end assembly. Keep a few matching spare components in a labeled envelope. A later repair is much easier when the compatibility decisions are known. If a bracelet repeatedly fails at the same place, examine bead edges, loop size and tension rather than merely replacing the tube. For valuable or sentimental jewelry, ask a professional jeweler before altering original findings.
Your working checklist
Checkmarks stay in this browser when storage is available. They do not submit information or complete a purchase.
Put it into practice
- Read the wire, tube and tool compatibility directions together. Make a sample closure on scrap and inspect its shape before cutting the wire length intended for the bracelet.
- Lay out the entire bracelet with the actual closure and fit it temporarily. Include any receiving rings or guards, then keep a written bead sequence so length adjustments can remain symmetrical.
- Finish the first end using the approved crimp sequence. Return the tail as directed, keep sharp ends away from the wearer and stop the opposite end before adding the full bead pattern.
- String and inspect the beads, then assemble the second loop. Curve the strand into a bracelet shape and adjust the cable so the beads move naturally without a large empty section.
- Crimp the second tube using the specified tool sequence. Inspect both closures and ordinary clasp movement; rebuild a malformed or slipping end with new components instead of compressing it repeatedly.
- Add optional covers only after the connections pass inspection. Trim and contain tails as directed, recheck fit and save a labeled note of every wire and finding size used.
Before you finish
- Cable, tube and tool are compatible.
- The bracelet curves without becoming rigid.
- No sharp tail or malformed tube is concealed by a cover.
- Clasp and receiving ring move and close properly.
Common questions
Can flat-nose pliers replace a crimping tool?
Only use the method specified for the particular crimp system. A tube designed for a shaped crimping tool should not be treated as a generic part to crush flat. Practice with the intended tool first.
Why is my bracelet stiff?
The beads may have been tightened while the strand was flat, leaving too little movement when curved. Check the assembly before hiding the ends. A finished overly tight strand usually needs rebuilding rather than forceful bending.
Does a crimp cover add strength?
A cover is primarily a decorative finish over an already secure connection. It cannot rescue an incorrectly matched or malformed crimp. Inspect the tube first and leave the cover off if it interferes with articulation.
Can I reuse a crushed tube?
Use a fresh tube when rebuilding a finish. A previously compressed finding is not an unworked component, and repeated deformation makes its condition harder to assess. Also remove any visibly damaged portion of cable.